


|
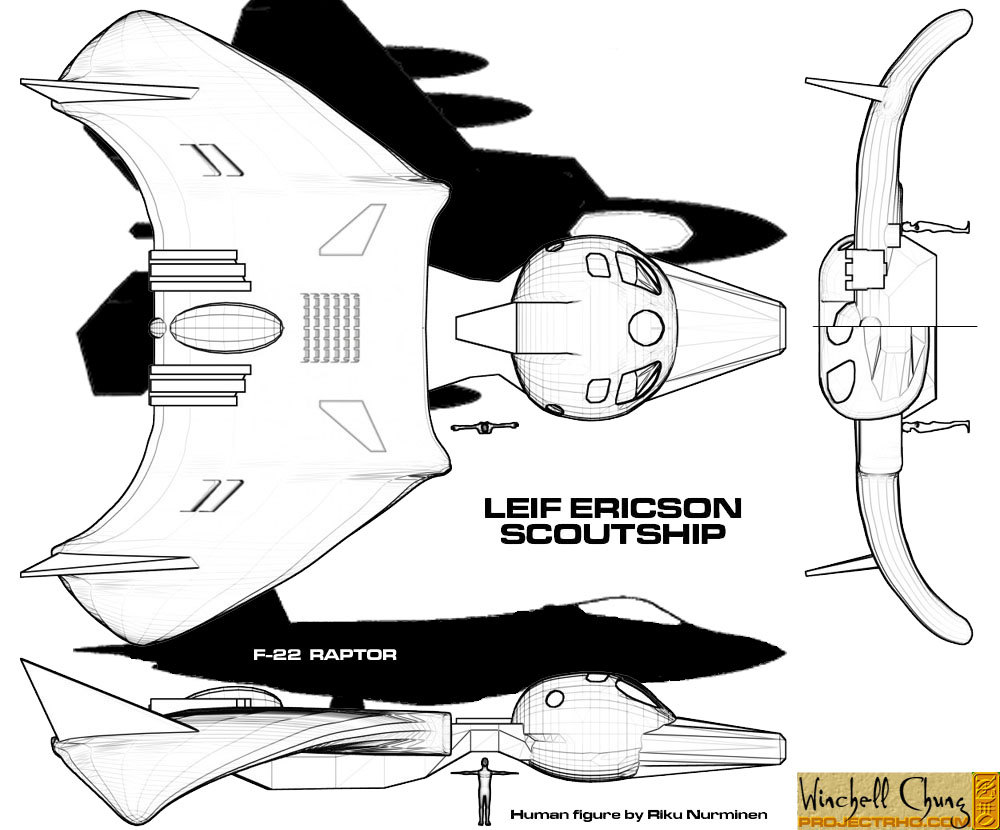
I have discovered that when Blender starts doing something weird, three out of four times it can be fixed by "recalculating normals outside". What happens is that Blender mistakenly puts a polygon on the mesh "upside down", which can cause at least three weird problems that I have encountered so far. Remember how ugly the wing looked? Recalculating normals then tweaking a bit produced this nice wing surface. I made the neck and the belly one separate object, stuck to the bottom of the wing. |


|
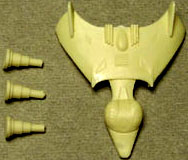
The twin pointed tails and the back greebles were fairly trivial to do. Just boxes and spheres. You will note that it is pretty ugly where the neck joins the head, I'm still trying to figure out how to fix that. |

|
The incised detail is a bump map, a Blender 'nor' map. The bump map was based on the blueprint. I did put a graduated tone on the rear vent bumps, but it didn't have much of an effect. I scaled the bump map by putting a tiny dot on the leading edge of the wing and at the front of the oval dome. I then scaled the bump map until they just fit. You can barely see the front dot in the picture. |

|
The boarders of the windshields were extruded inwards to make some thickness. This does seem to pucker the skin around them. I then made green glass windshields to go inside the holes. The star-shaped fracture pattern is unintentional, I'm still trying to get the hang of modeling glass. You can see the blue man doing his Da Vinci impression inside the cockpit. |

|
Here are some Blender instant blueprints of the scoutship. |