|
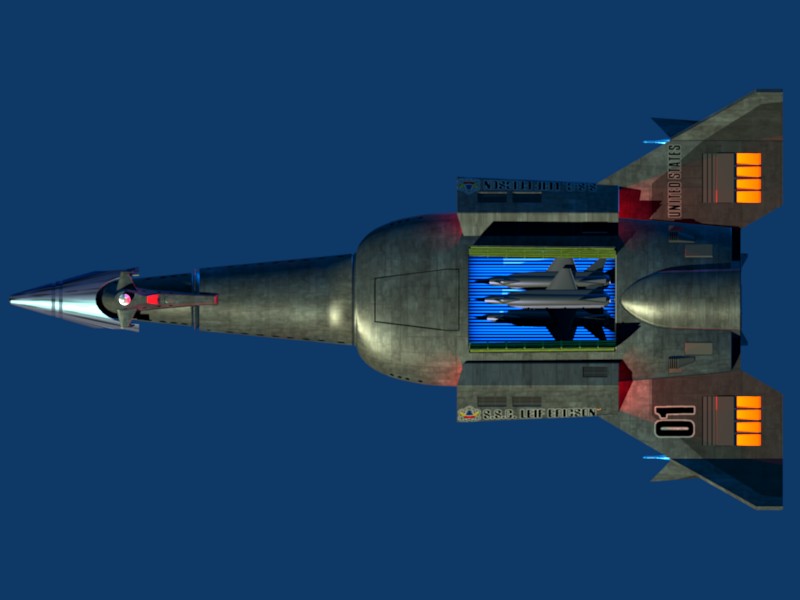
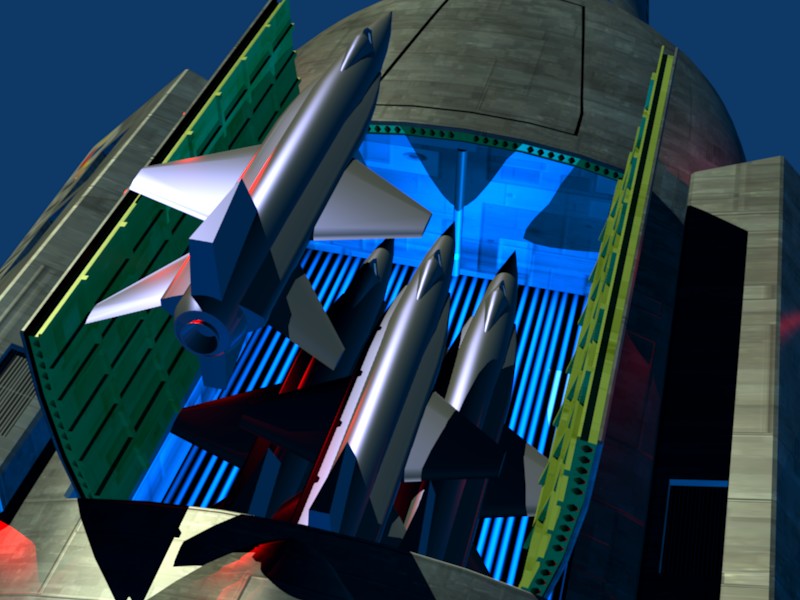
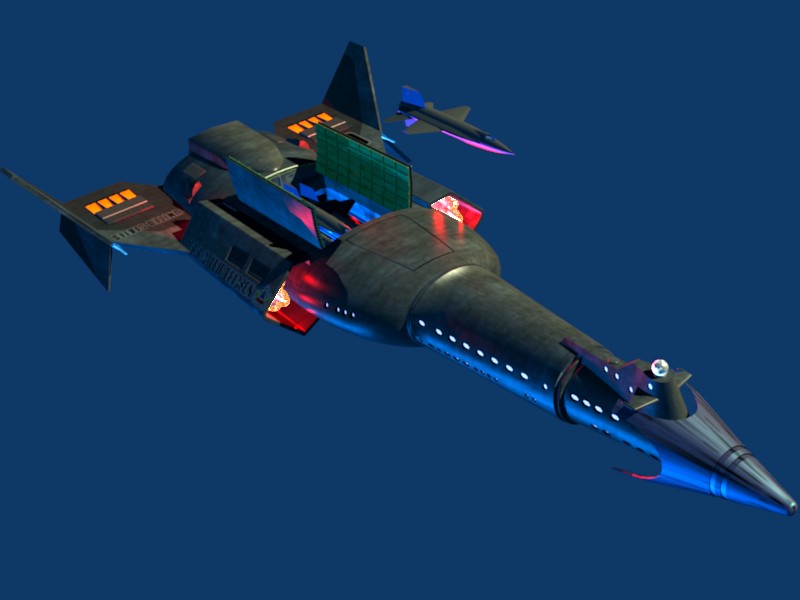
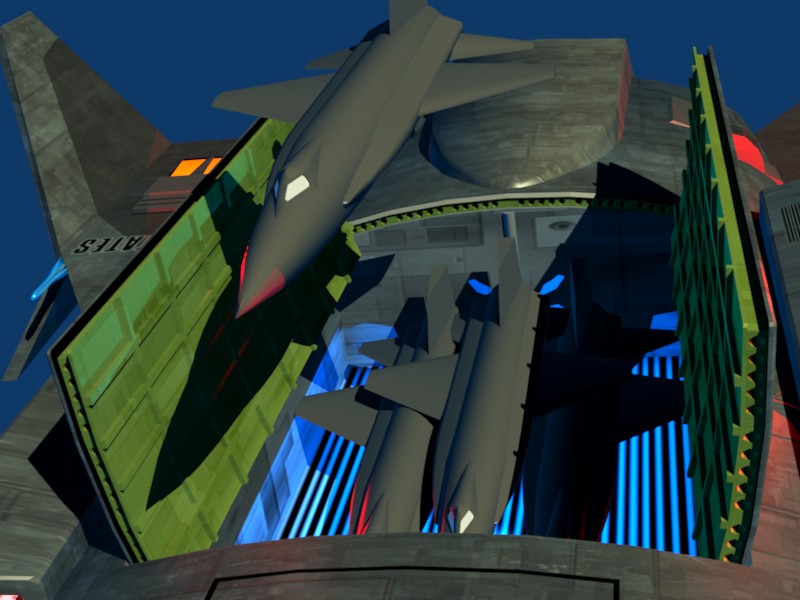
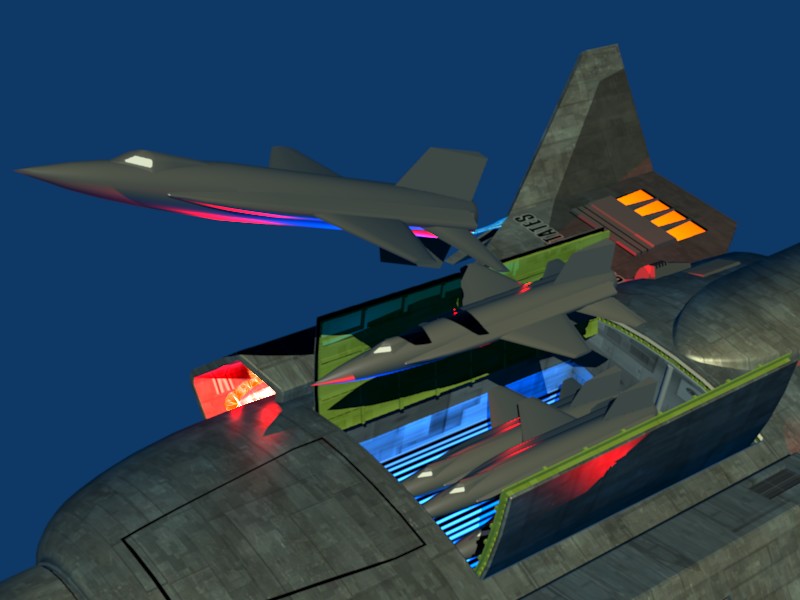
The modelmaker known as "M3" (which probably means "Major Matt Mason") figures that in the time-line specified in the Leif's future history, if it carried any space fighters they would probably be based on the NASA's old X-15 spaceplane. M3: Jane's Historical Defence Guide (1978 edition) The XF-15 HyperSabre was the first hypersonic endo/exoatmospheric weapons system to be deployed by the Strategic Space Command. A militarized version of the experimental X-15 hypersonic vehicle, the XF-15 allowed the Strategic Air Command to make its first tentative steps into space. Eventually, infighting over control of exoatmospheric operations led to the formation of the Strategic Space Command in 1964. The XF-15 was only functional for a five-year span, from 1961-1966, when it was superceded by the XF-20 (later F-20) DynaHawk, which was designed to be launched from either a Titan III rocket or the back of a B-70. (True SSTO fighters had to wait until 1973, with the deployment of the F-302 Interceptor.) The XF-15 was rushed into production at the very beginning of what would later be called the First Zork Incursion, as a last-ditch attempt to protect the Earth from what later turned out to be five rogue Zork scout saucers, whose intermittent re-supply raiding parties were launched from a crashed Zork mothership on the far side of the Moon. Two HyperSabres were carried to altitude under the wings of a XB-52C, the ThunderFortress. The ThunderFortress gained its nickname from the fearsome sound of its takeoffs; laden with one HyperSabre under each wing, the XB-52C lumbered into the air under the full power of ten jet engines (two additional single-engine pods replaced the outboard fuel tanks), a full set of JATO bottles, and a single, throttleable A-6XV variant rocket engine (which replaced the gunnery position in the tail.) The rocket engine was re-ignited to put the XB-52C into a sixty-degree accelerating climb before release of the two HyperSabres at altitude. Each XF-15 was armed with one Genie-X nuclear-tipped missile, sheathed in ablative material, carried under the belly of the craft. (This led to the HyperSabres unofficial nickname, the Black Stallion", or just plain "Hung.) The Genie-X was equipped with both proximity and radio-controlled remote detonation triggers, and could be detonated on command by the XF-15 pilot. During their lifespan of deployment, the XF-15 shot down or otherwise disabled three of the Zork saucers. Much was learned from the Zork debris, including important clues towards the advancement of gravity generation and fusion technology. Seven XF-15s were lost during this same period, including two that were brought down (along with their XB-52C mothership) by a suicidal Zork saucer. During the 1972 Zork Incursion, there was some discussion about returning the XF-15 to service for the duration of the emergency. He is currently working on kit-bashing a plastic model of the HyperSabre. Details are in flux. So for now I am using a standard X-15 mesh as a stand-in until the HyperSabre blueprint gells. |
|
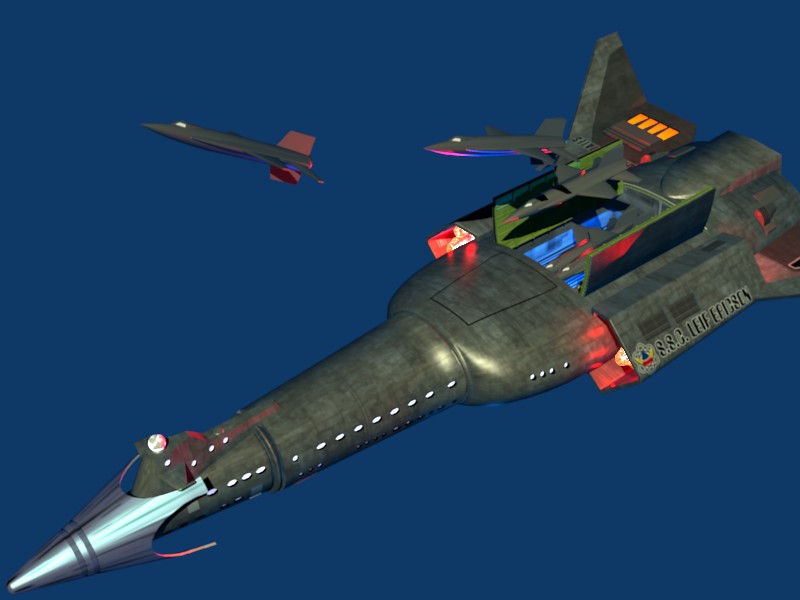
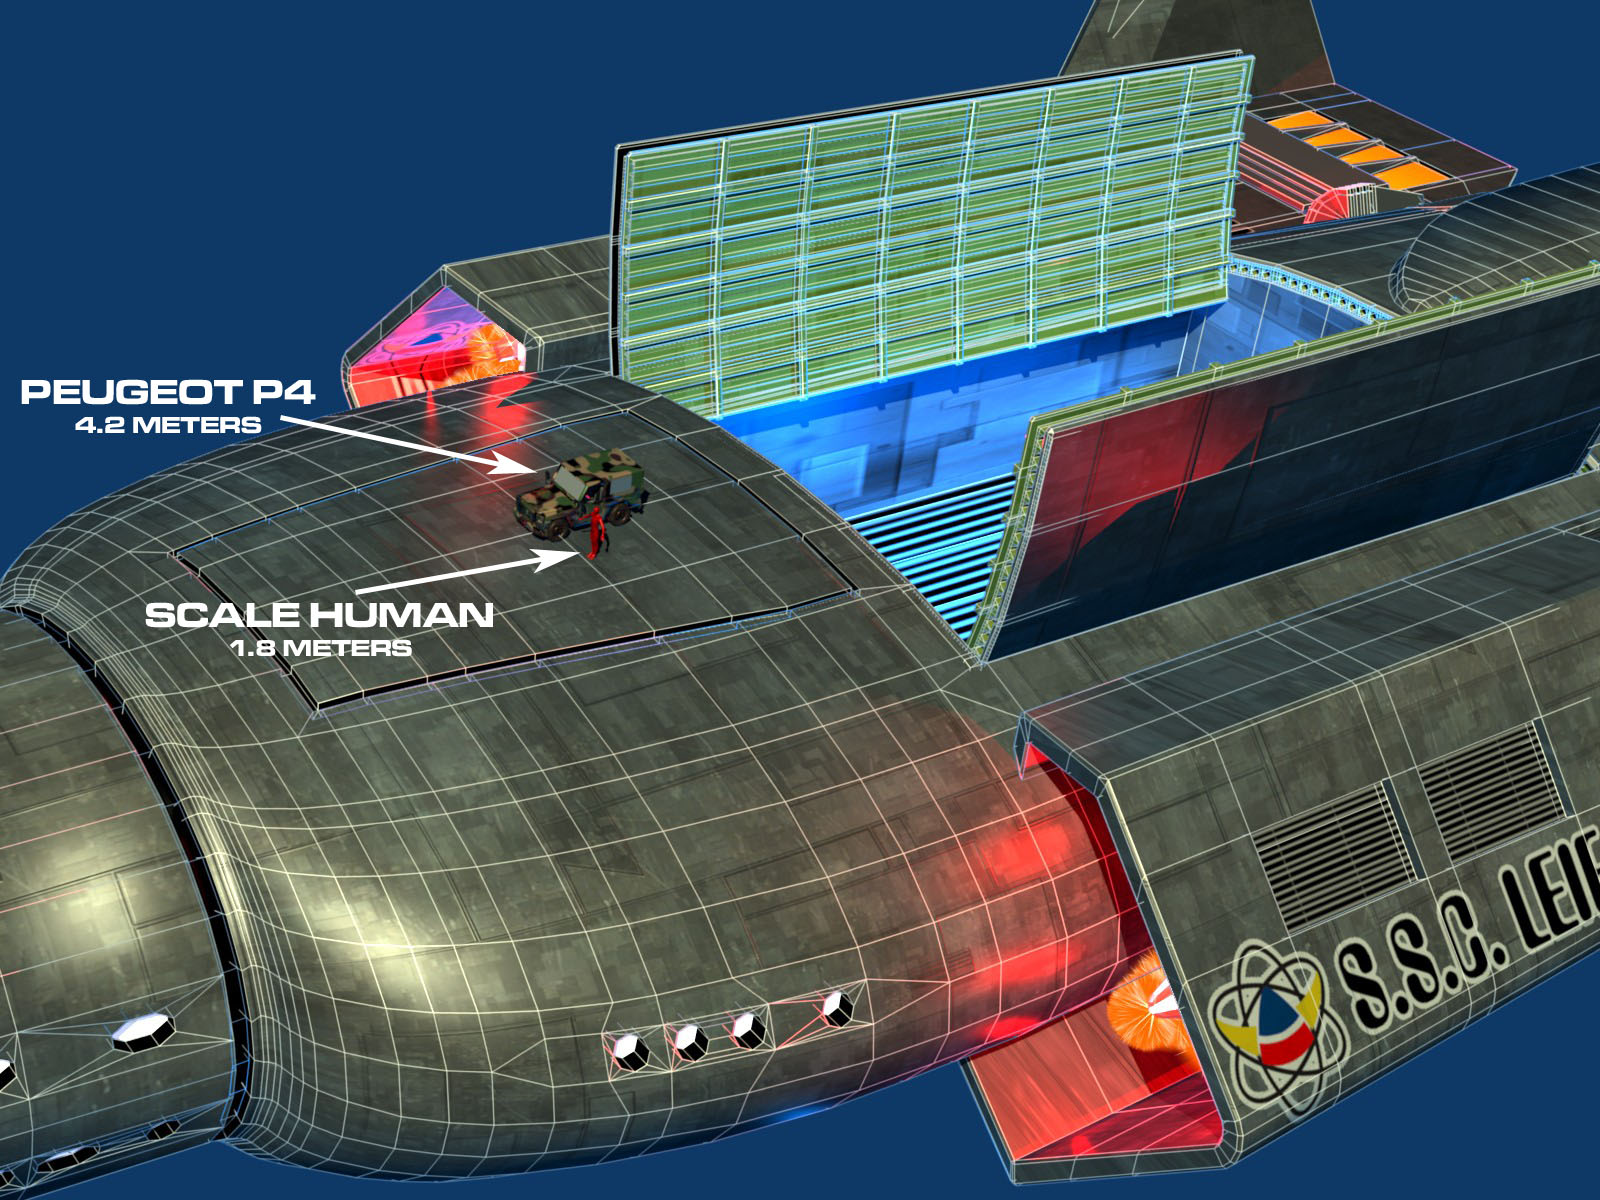
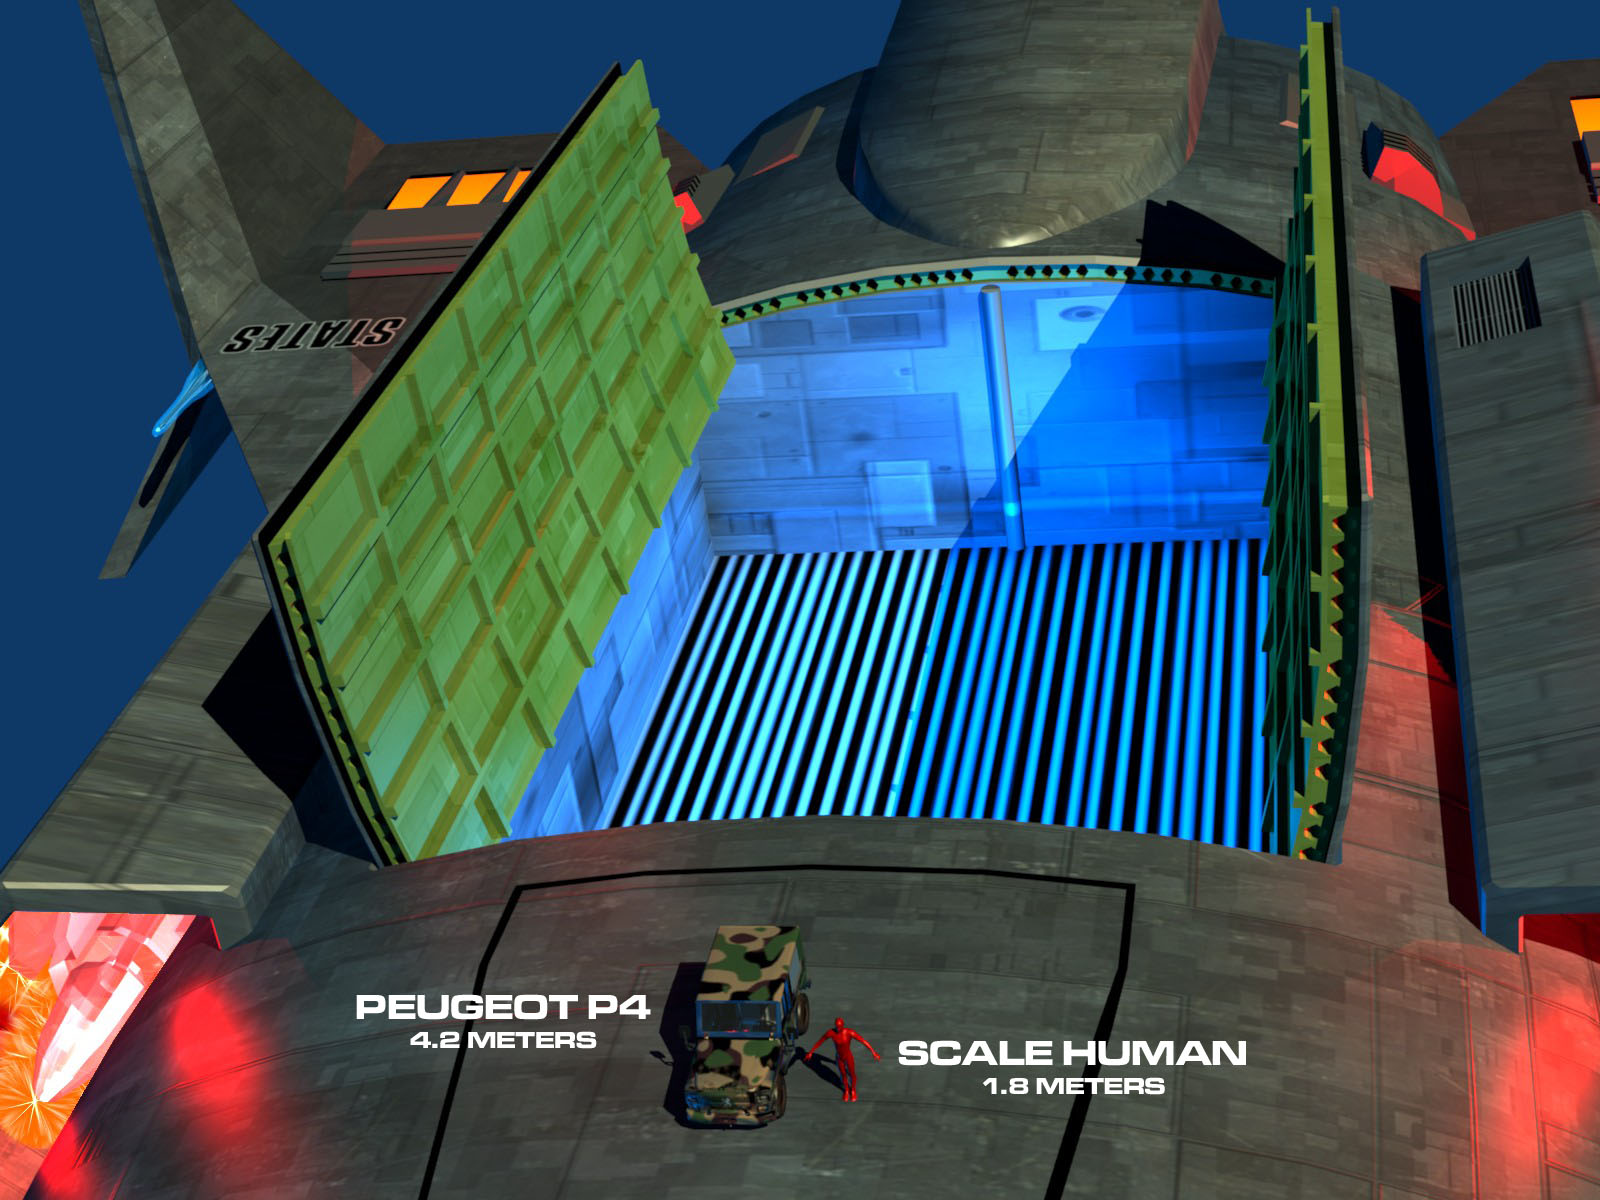
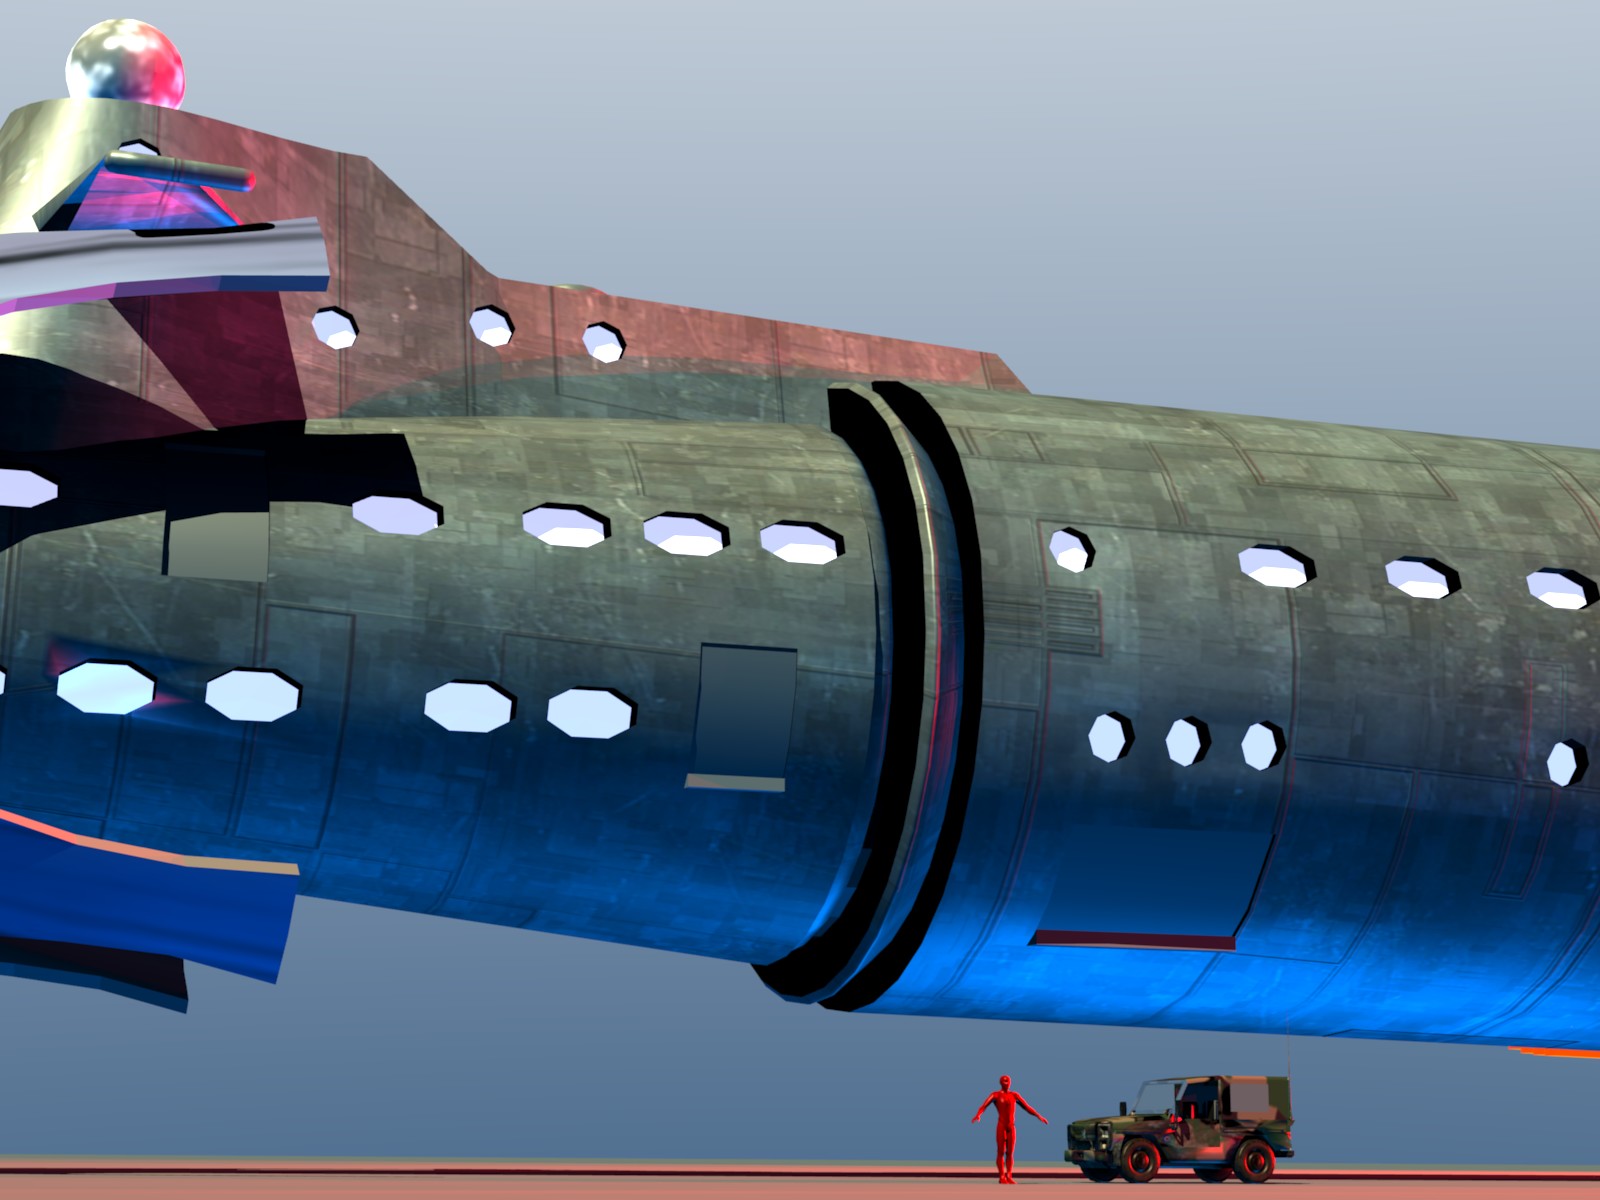
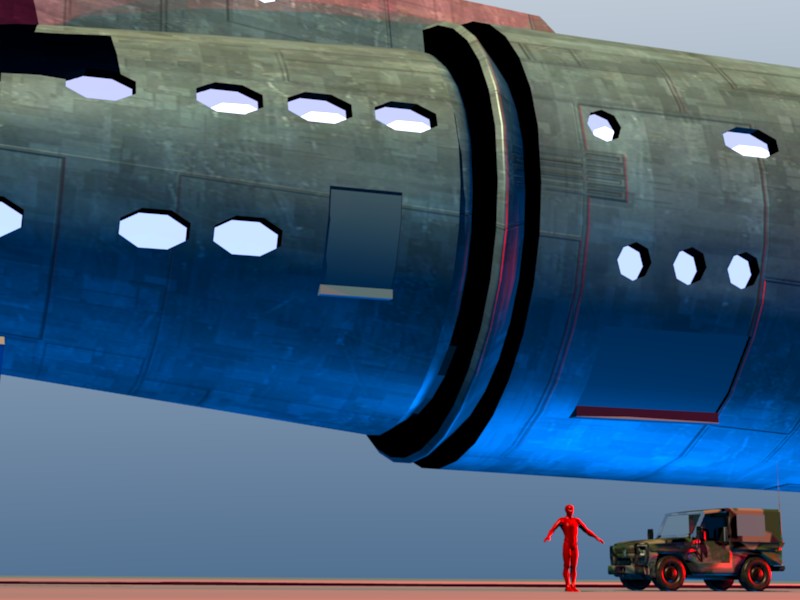
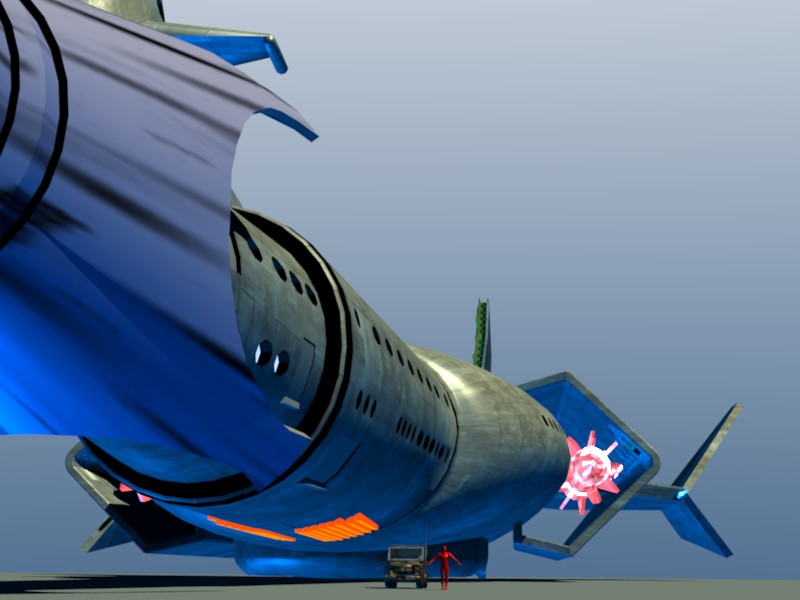
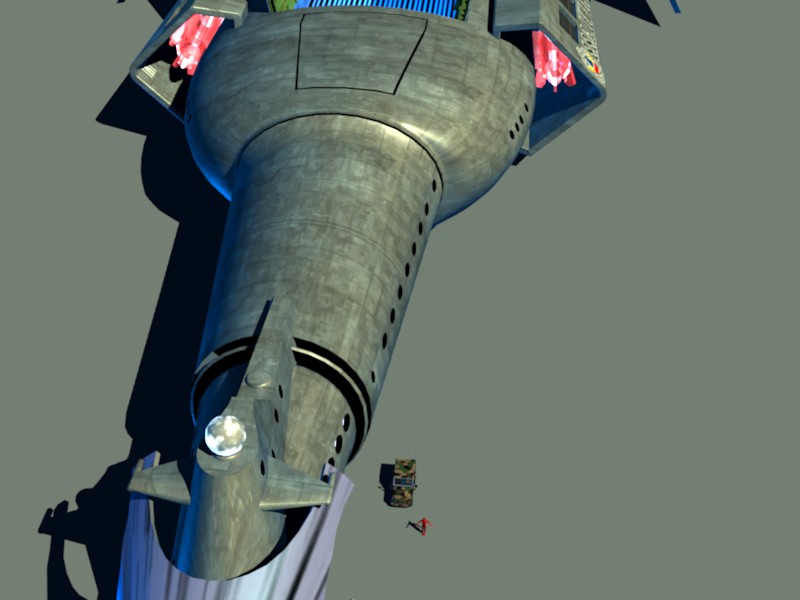
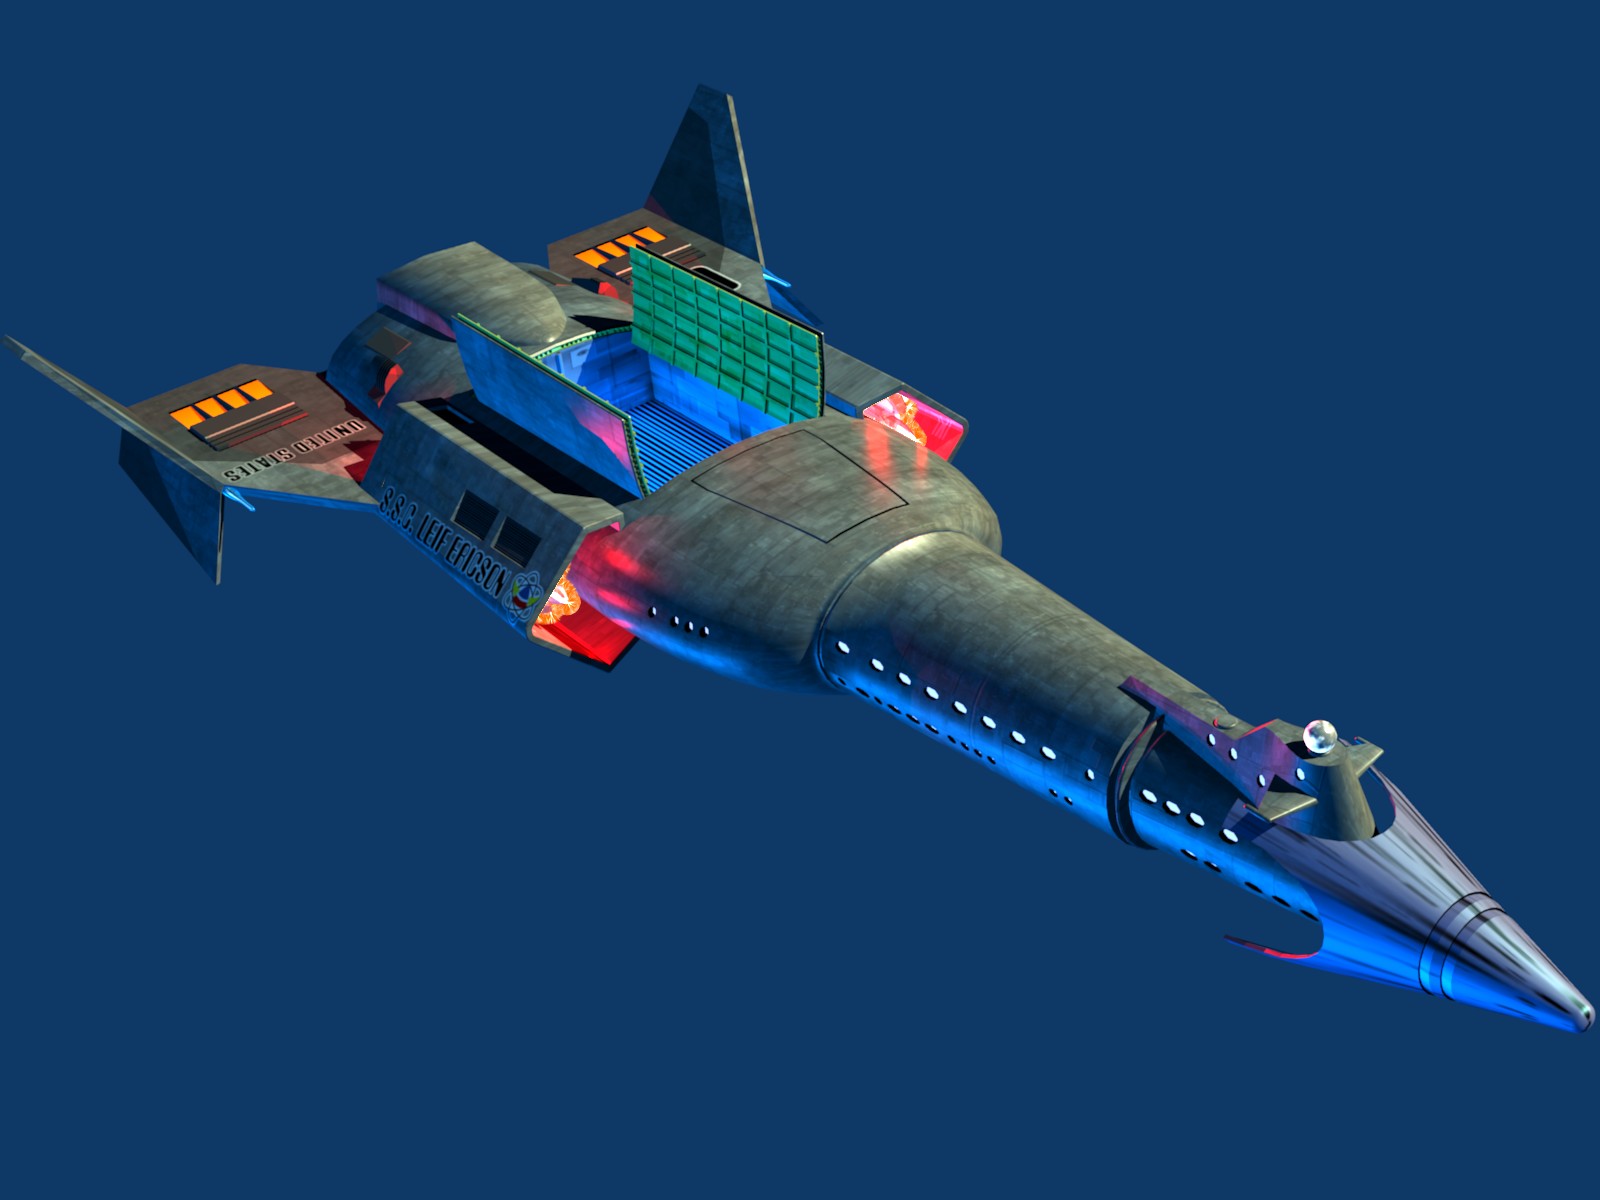
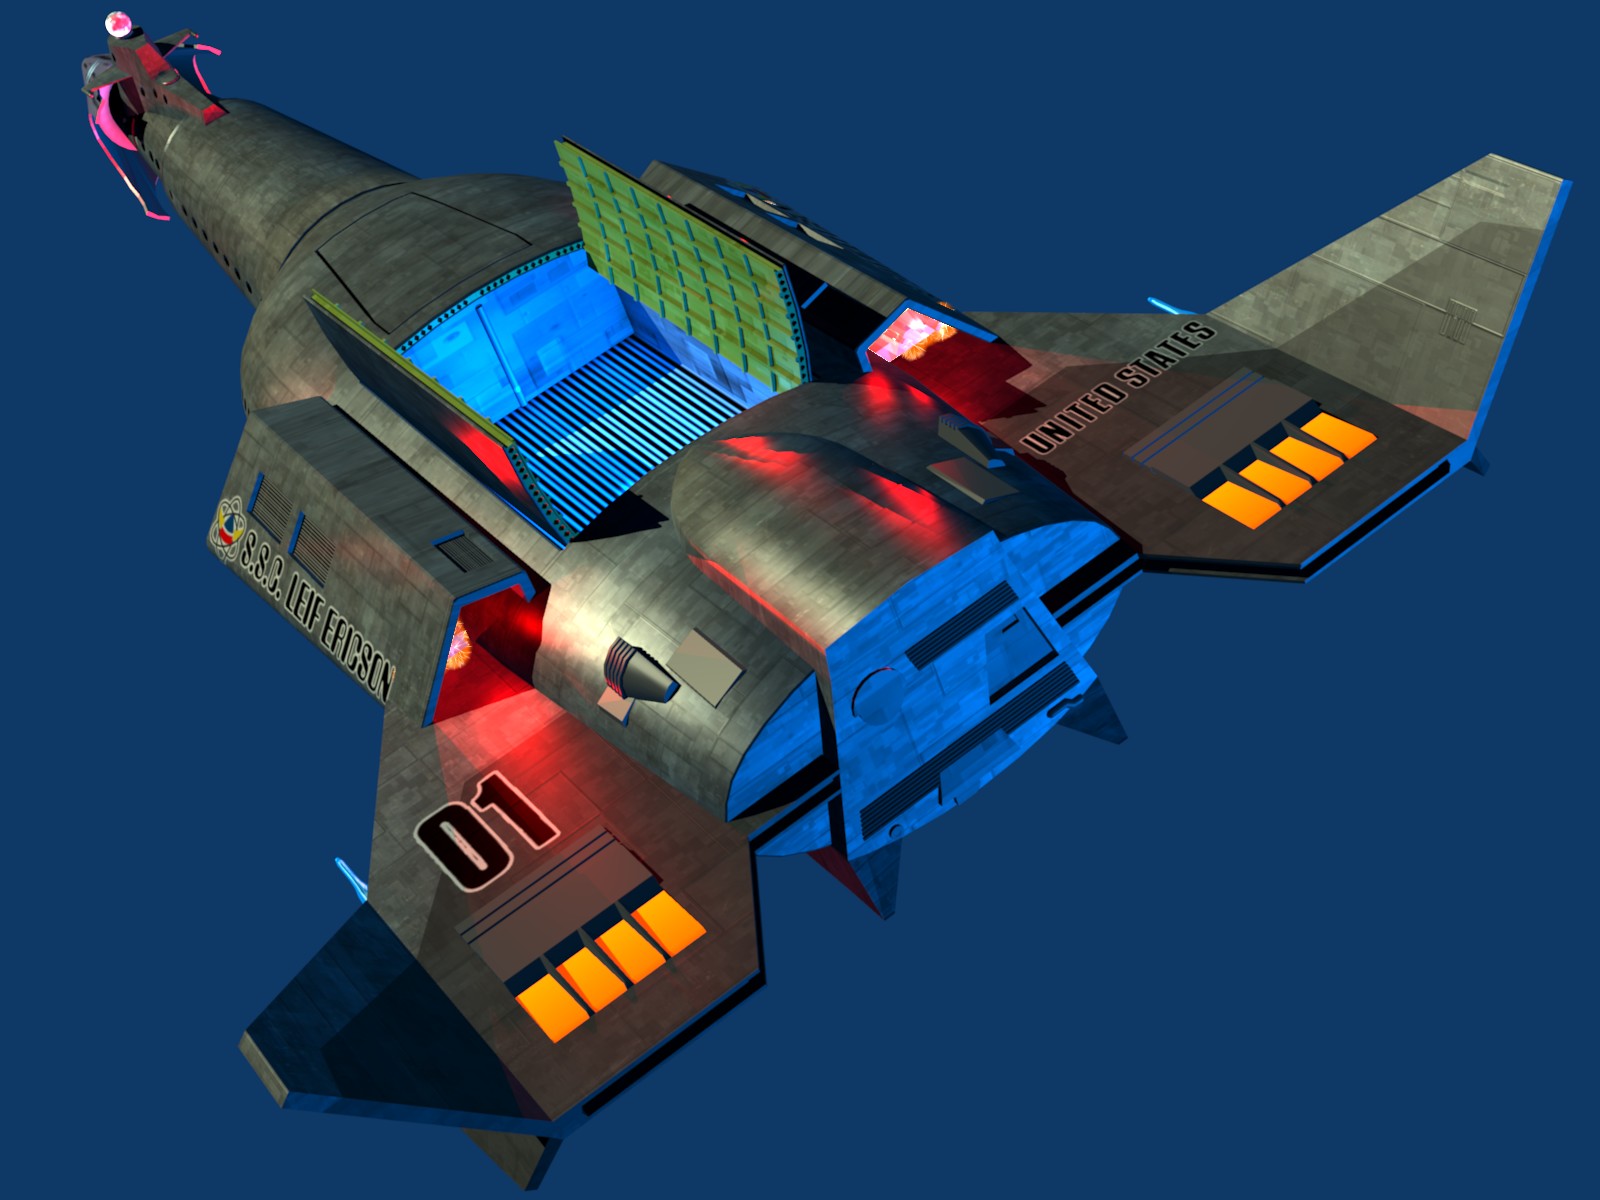
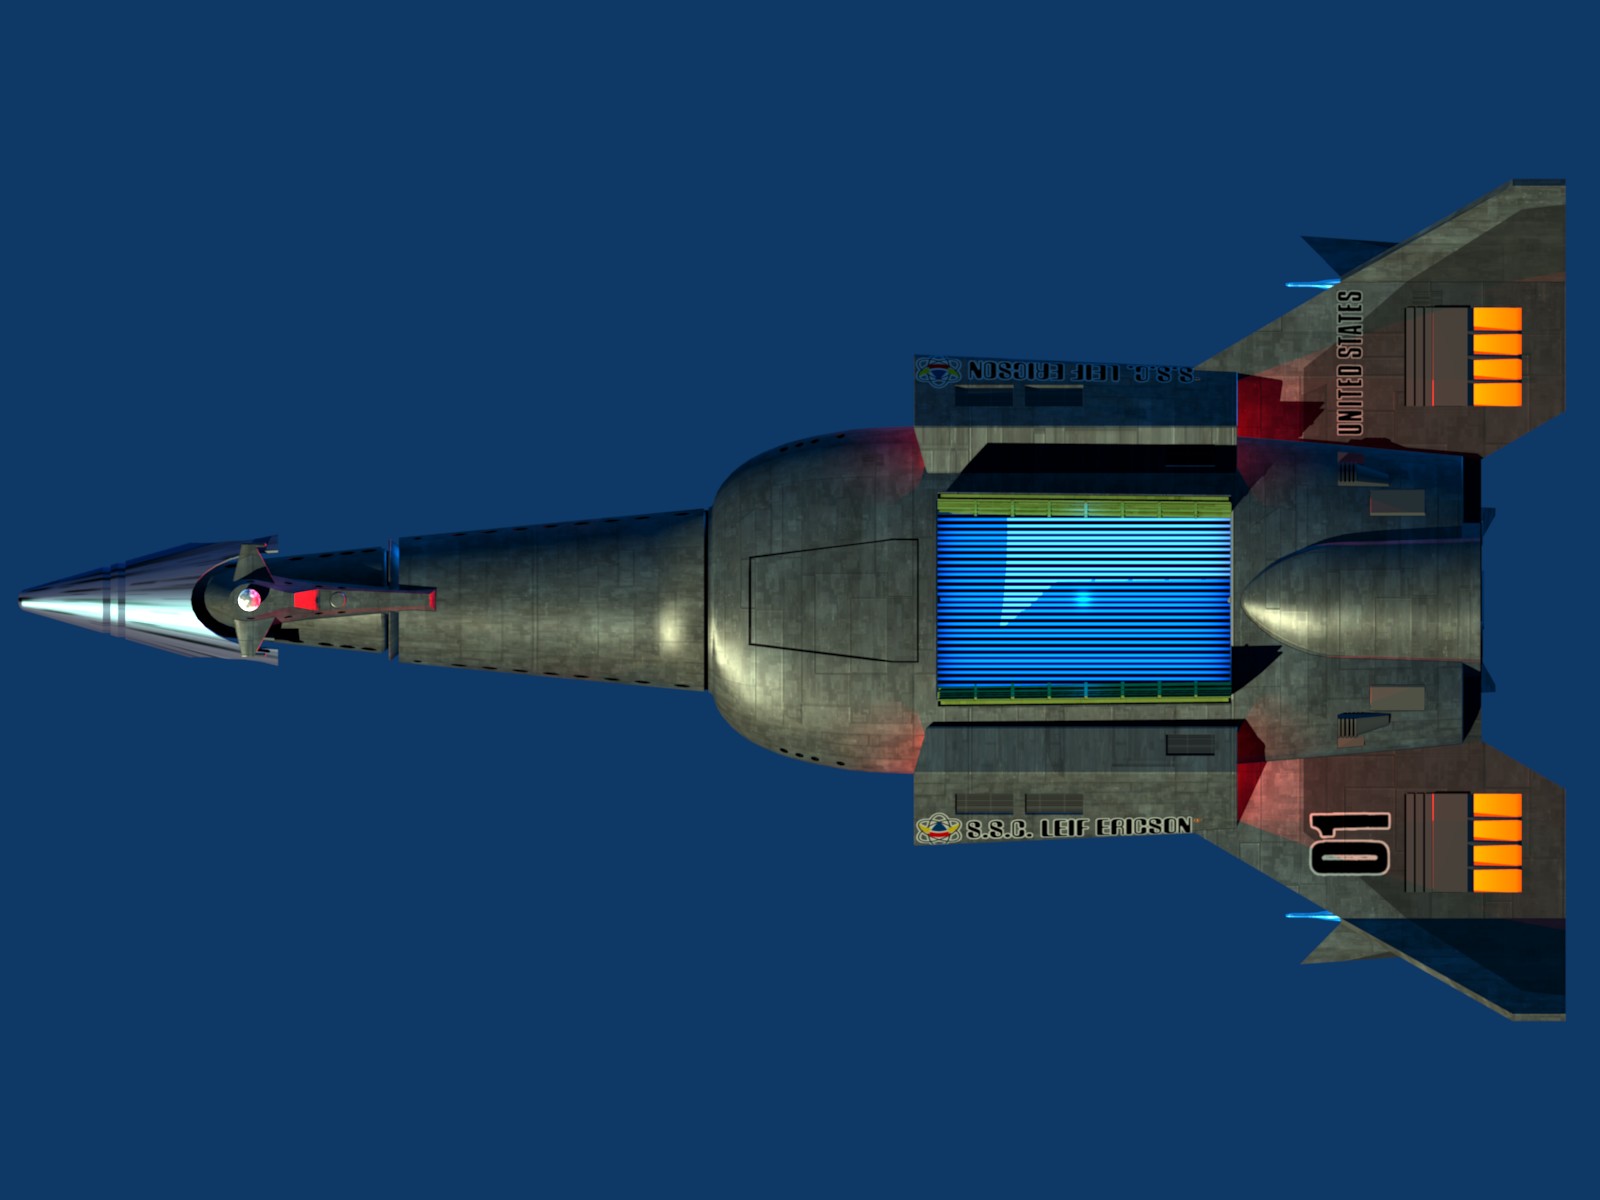
Here is an attempt to give a sense of scale. If the plastic model is 1:500 scale, then the real Leif Ericson is 167 meters long (182 yards). Shown for scale is a 4.2 meters long Peugeot P4 military vehicle and a 1.8 meter tall human figure. |

|
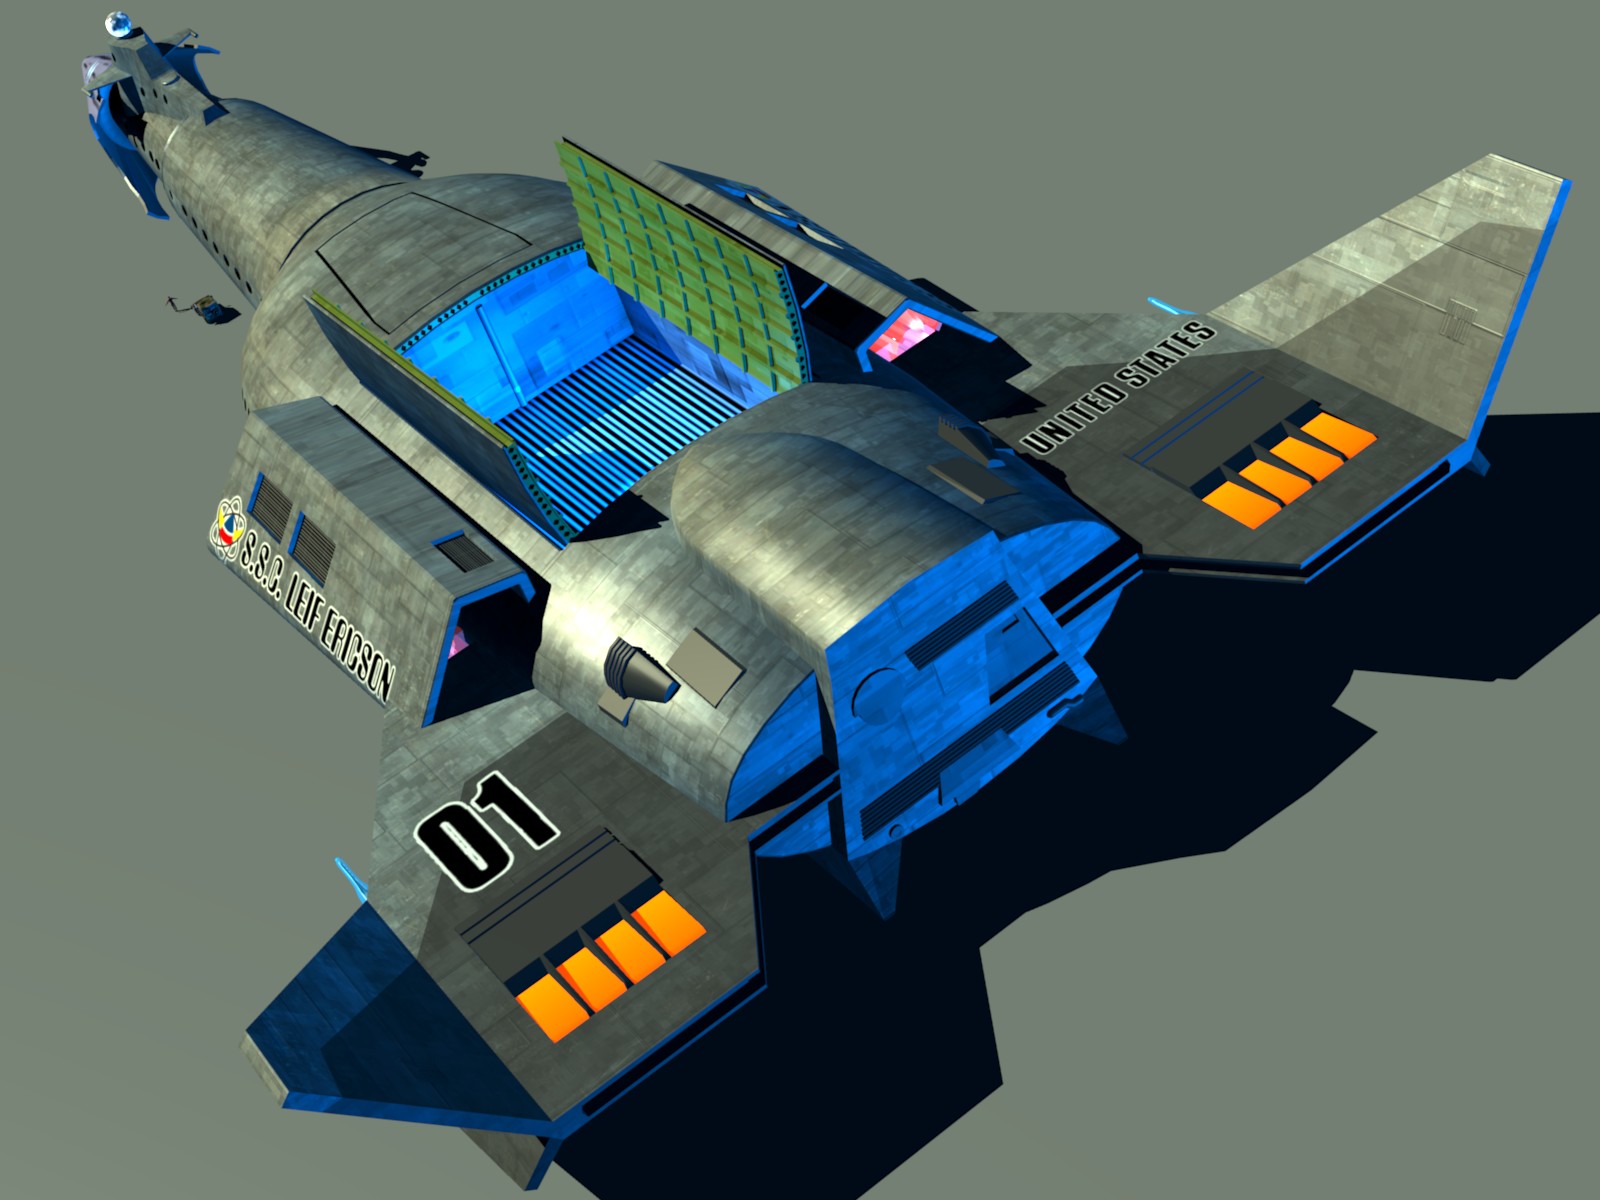
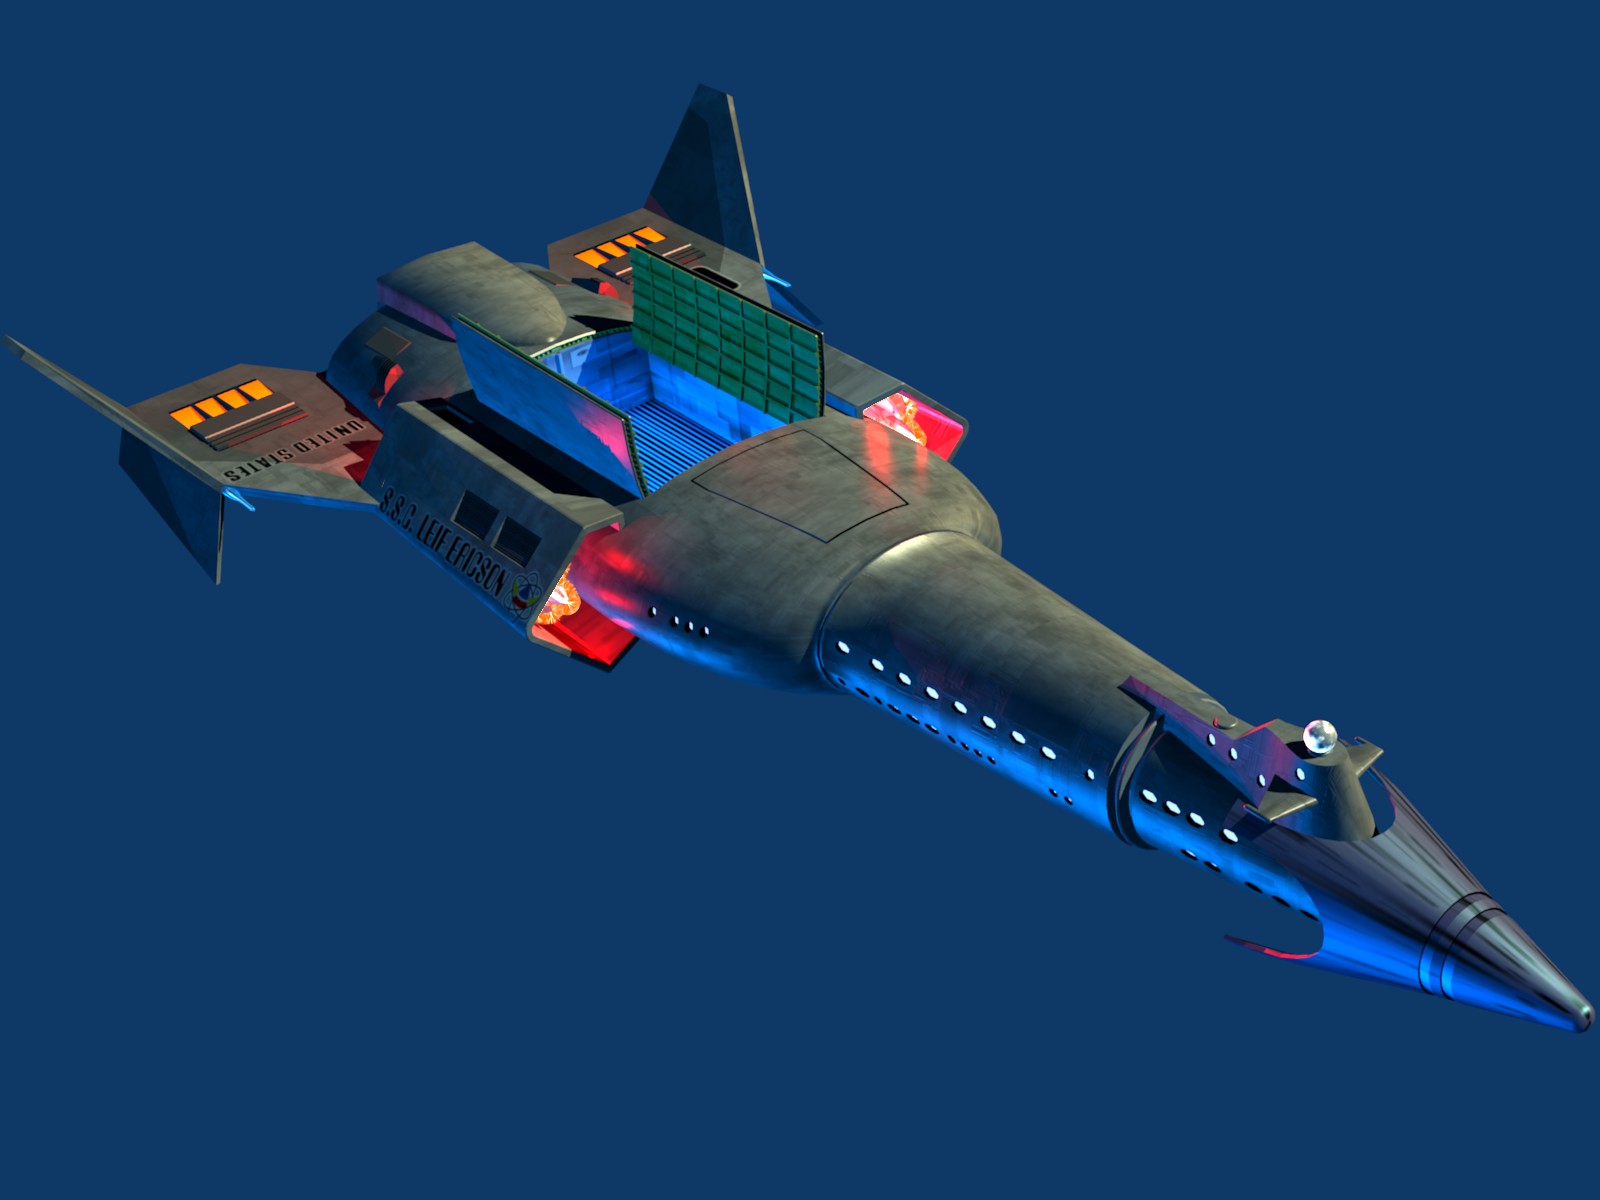
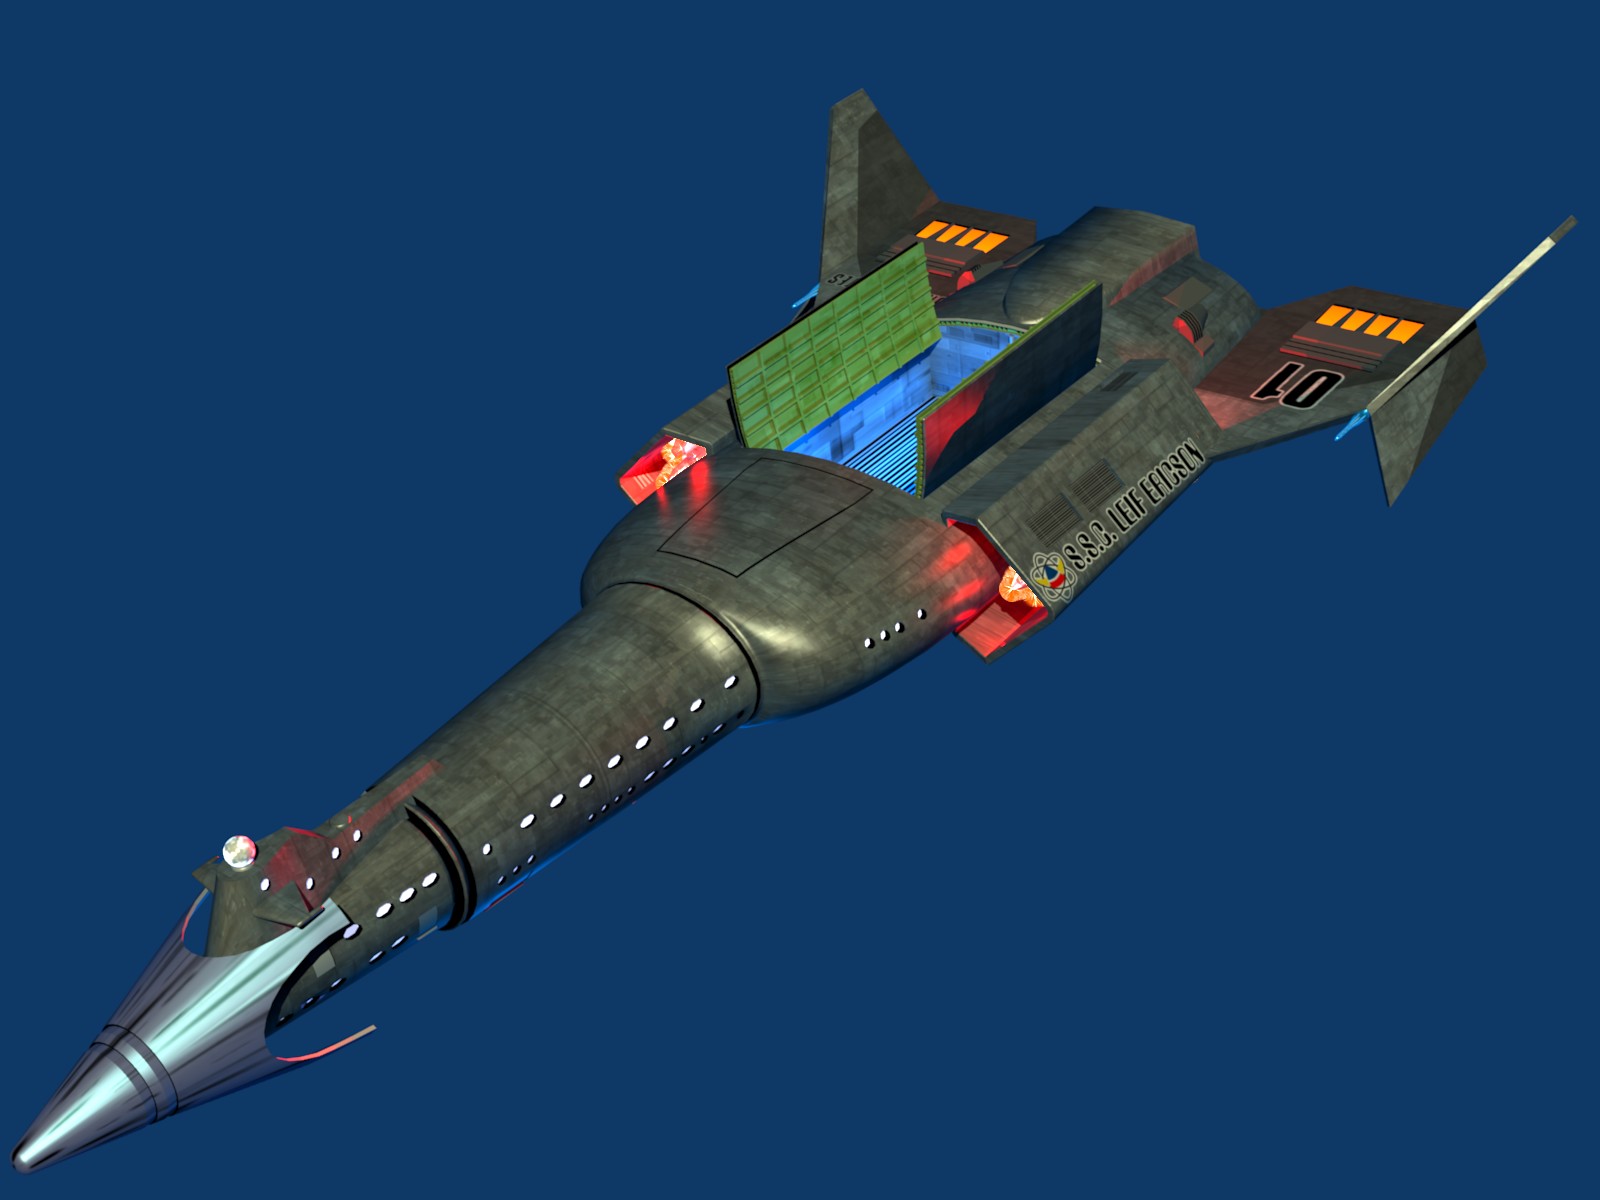
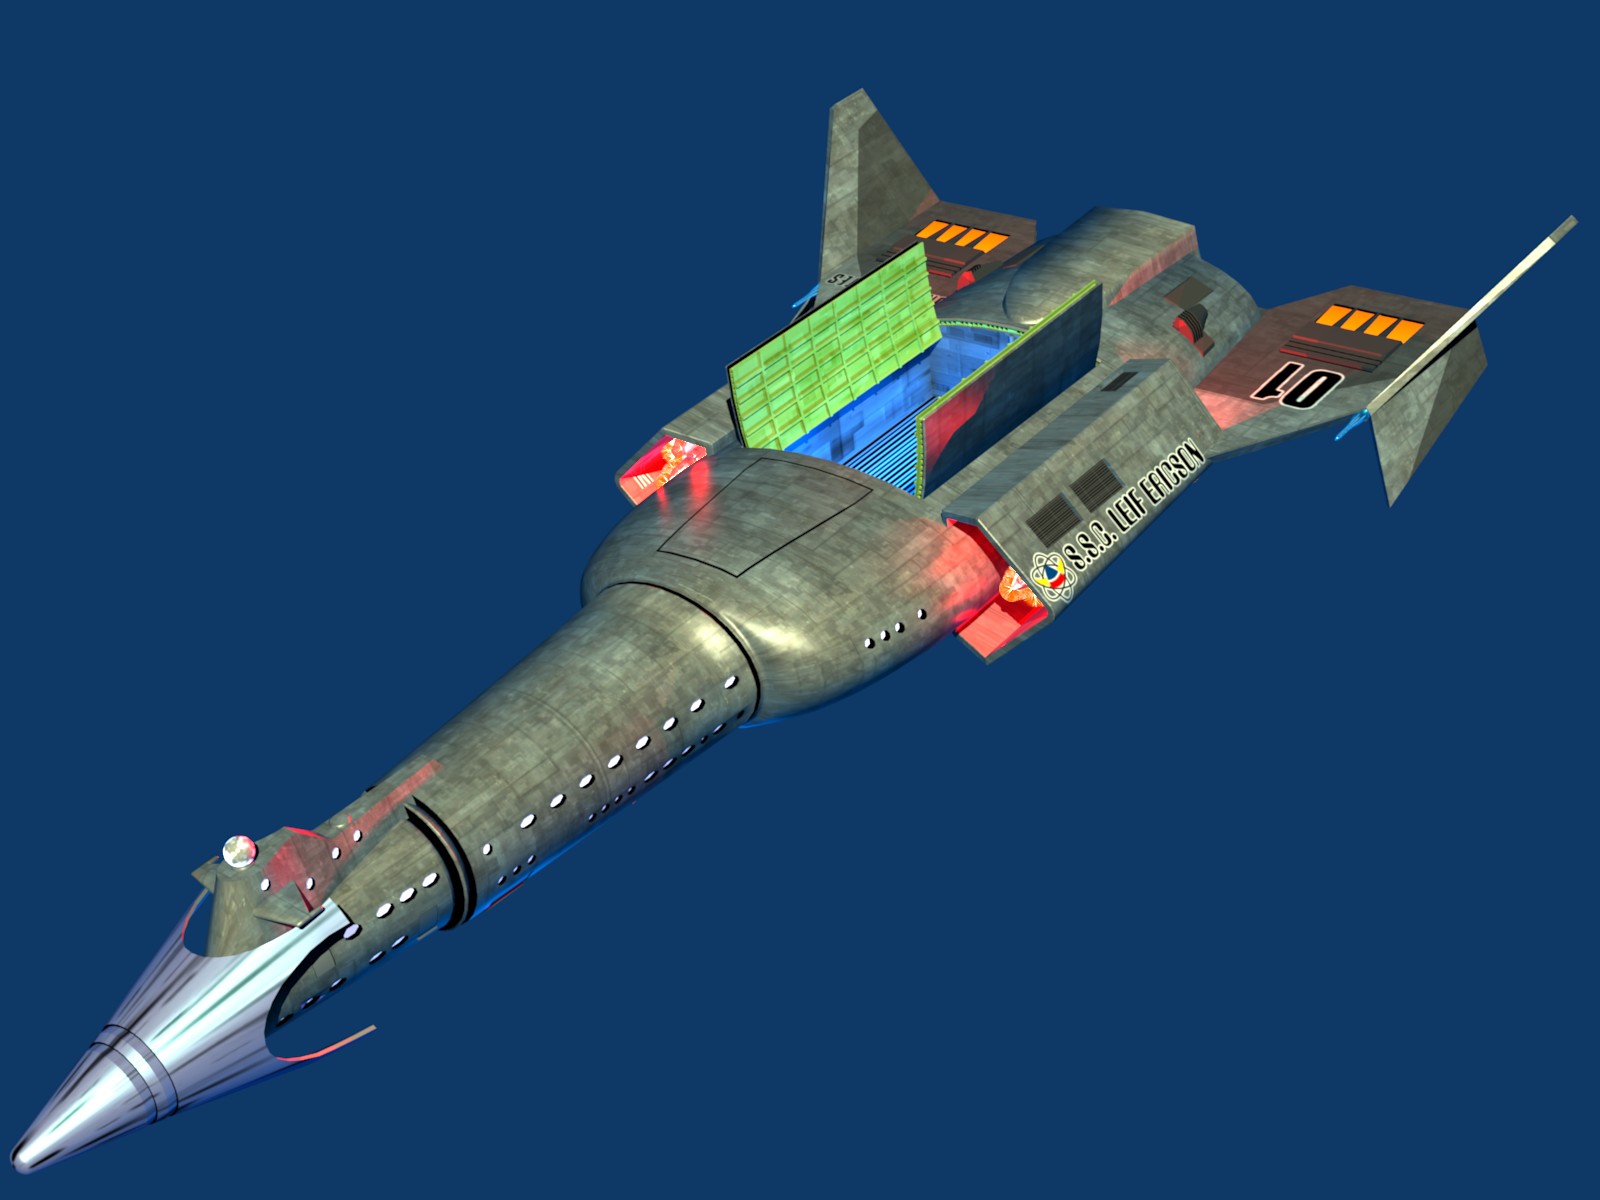
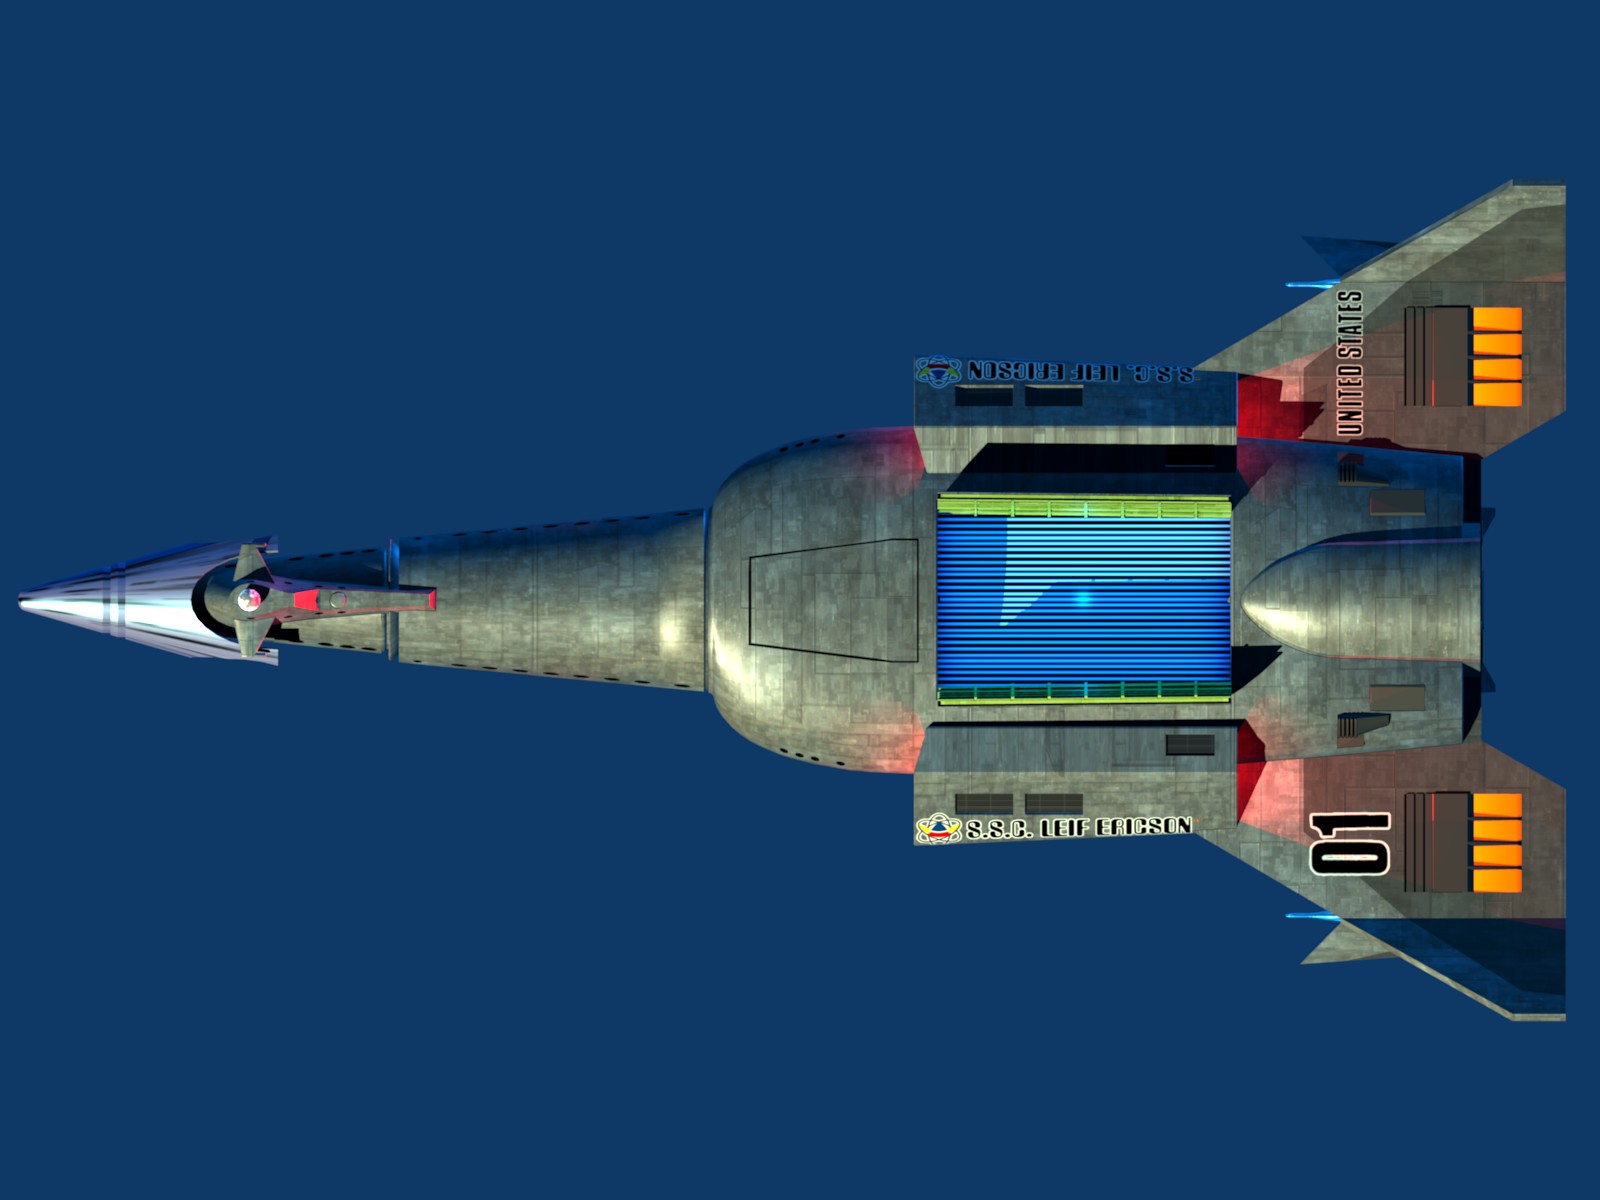
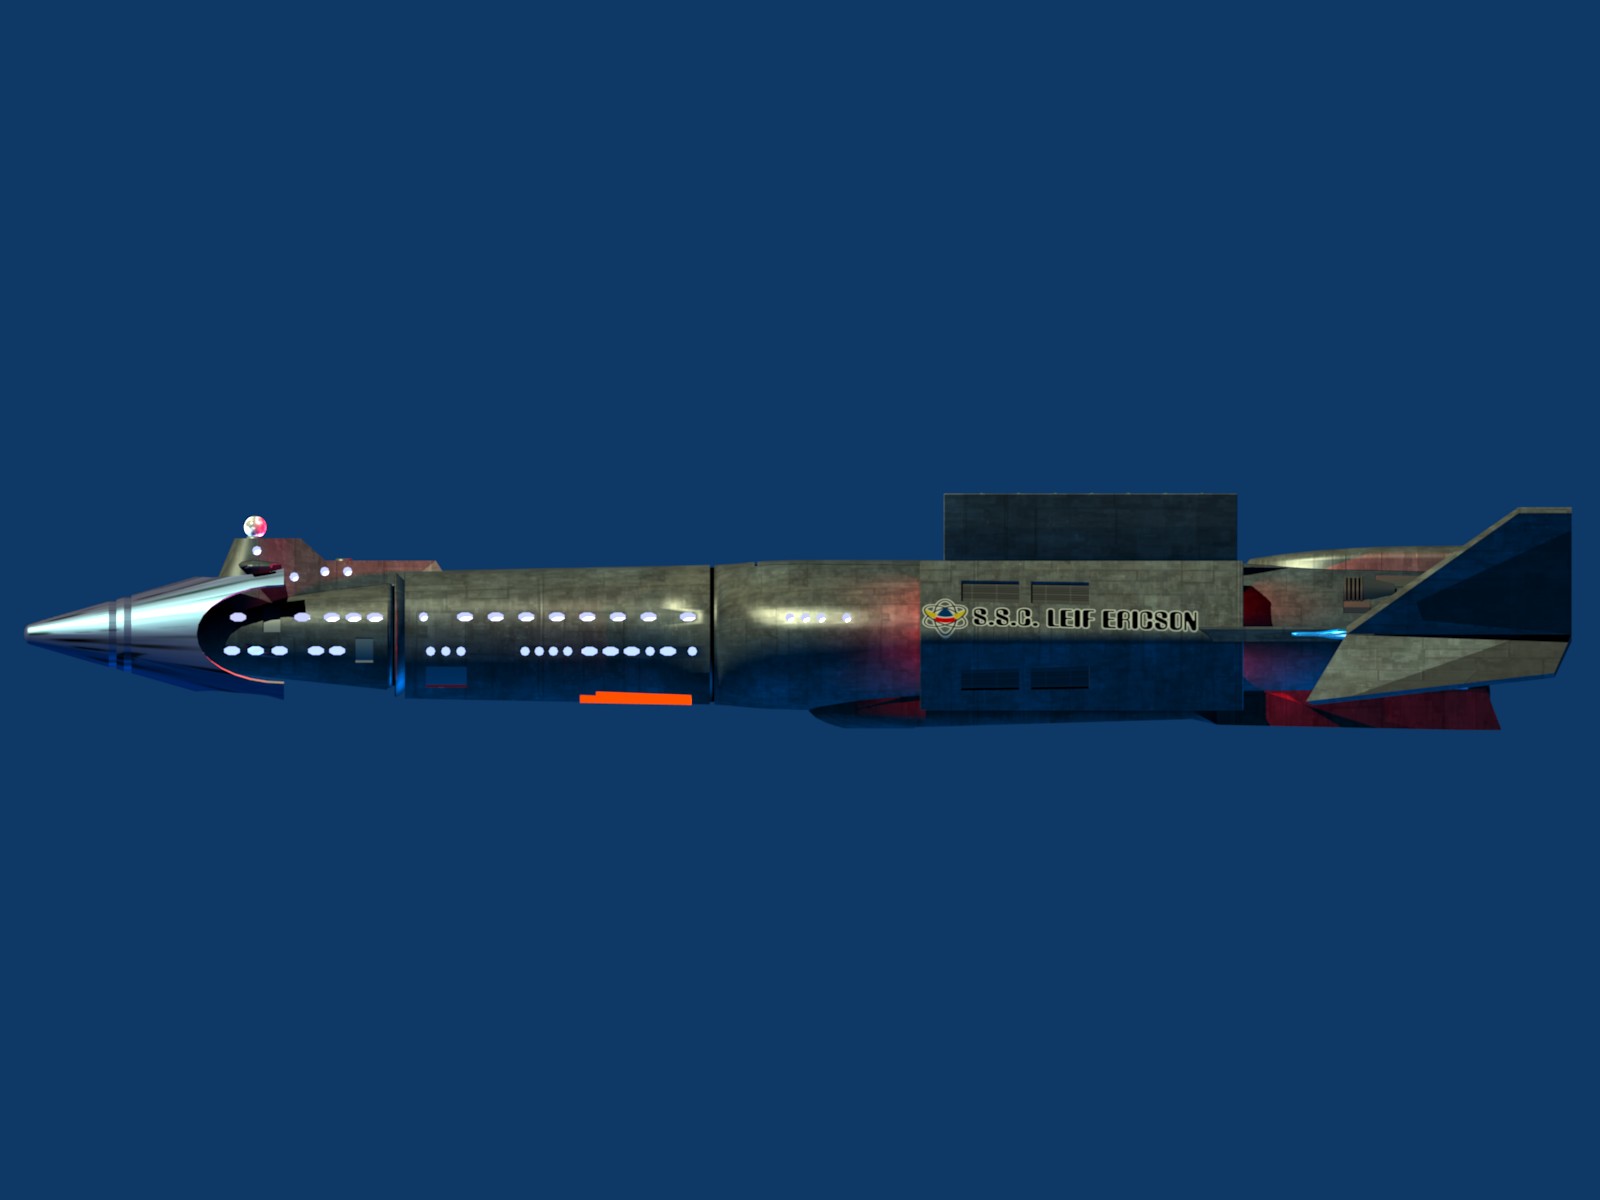
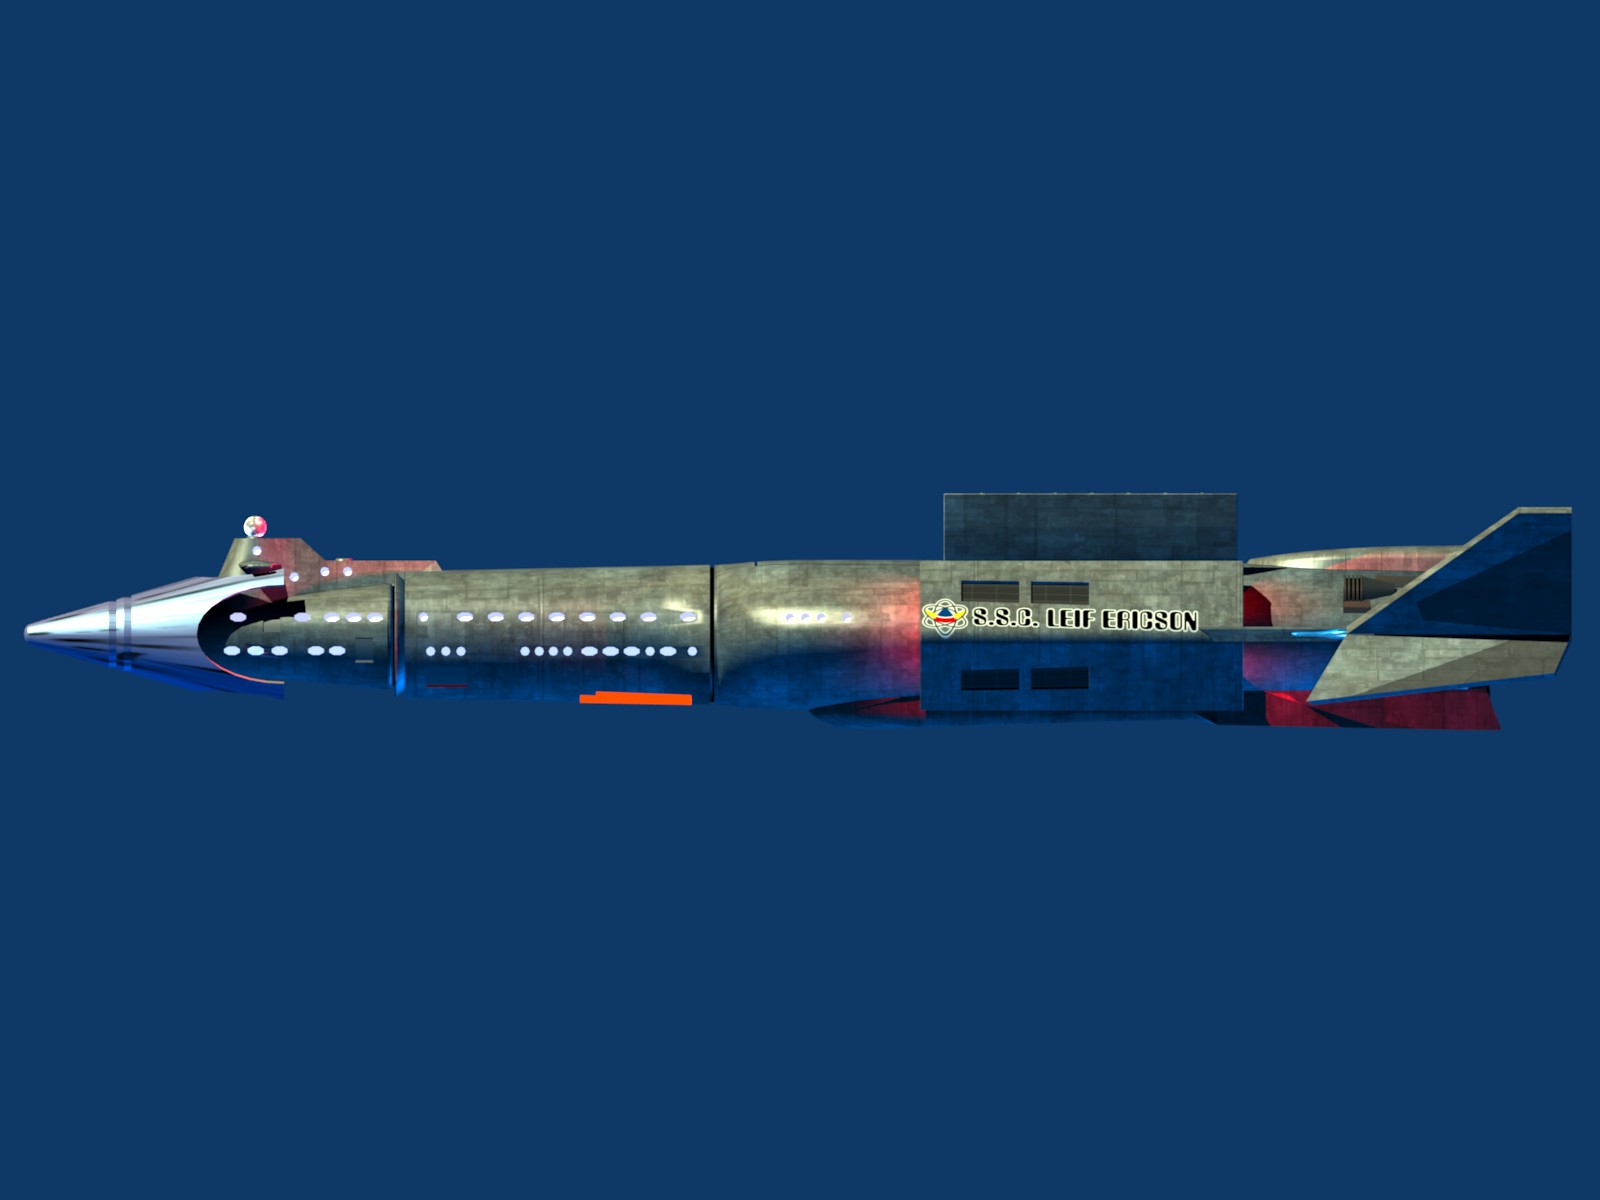
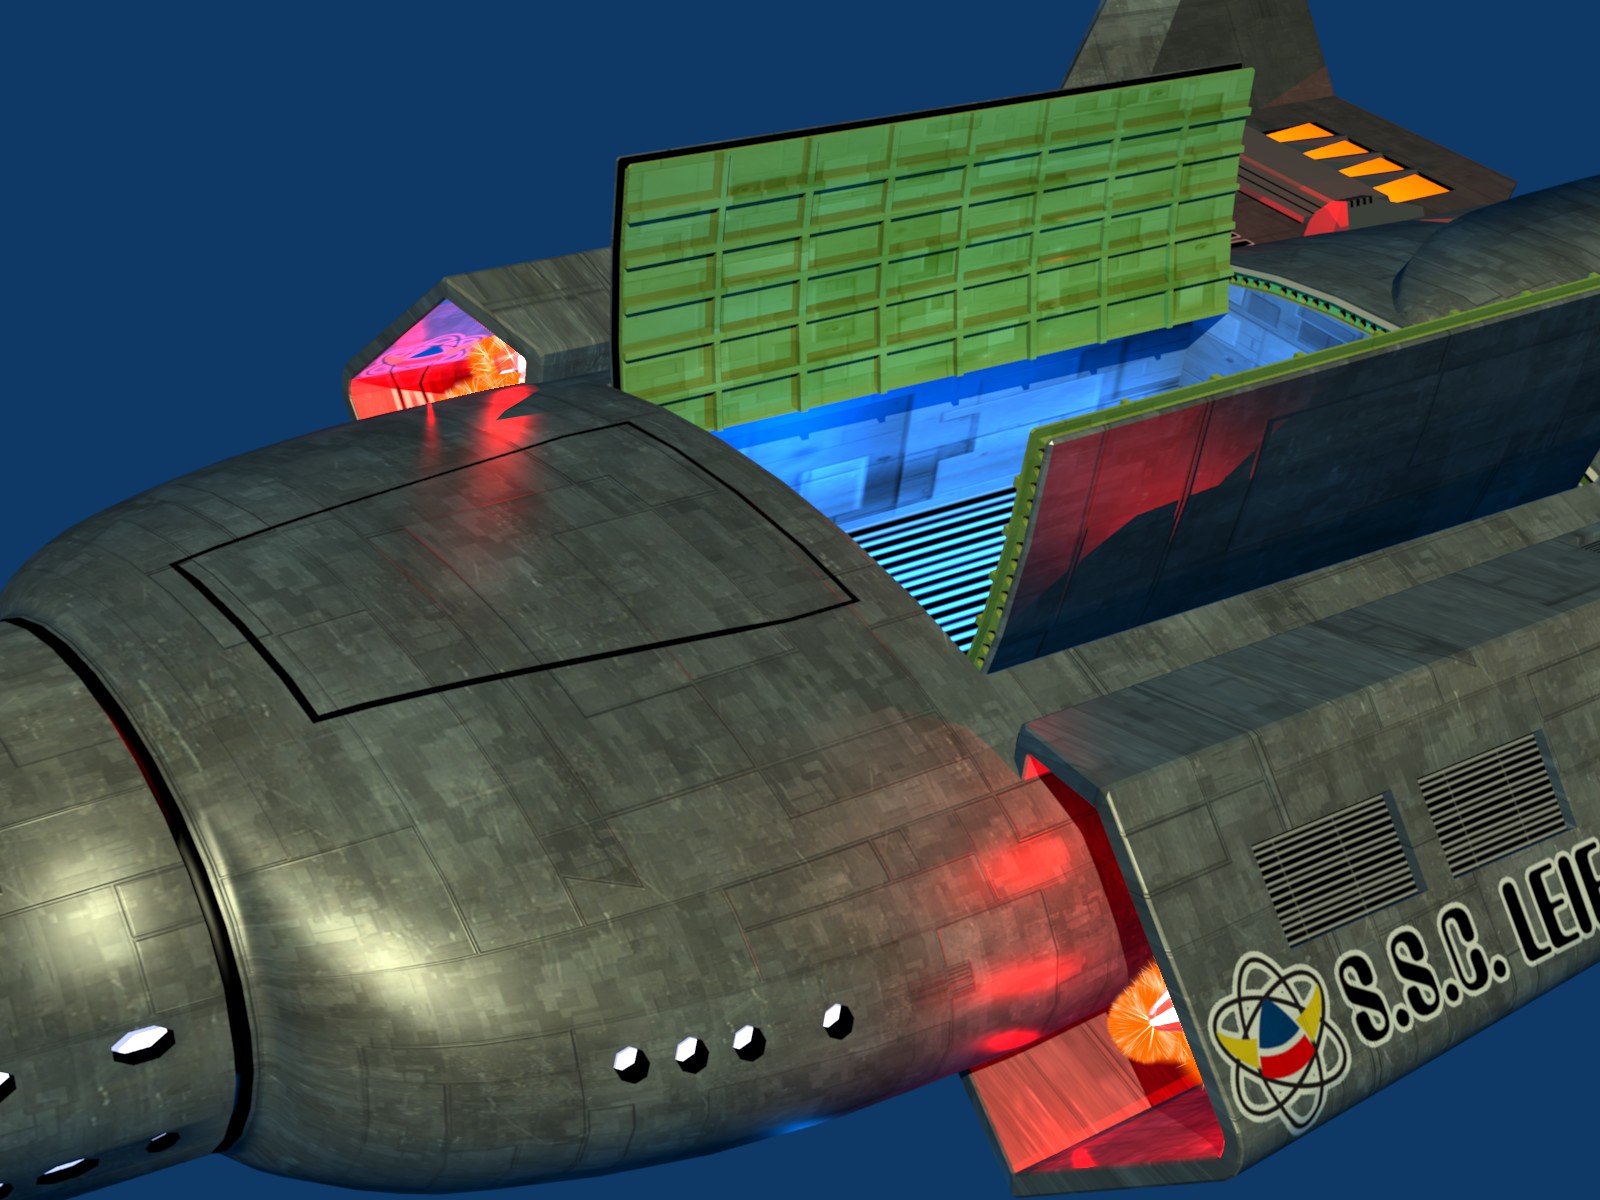
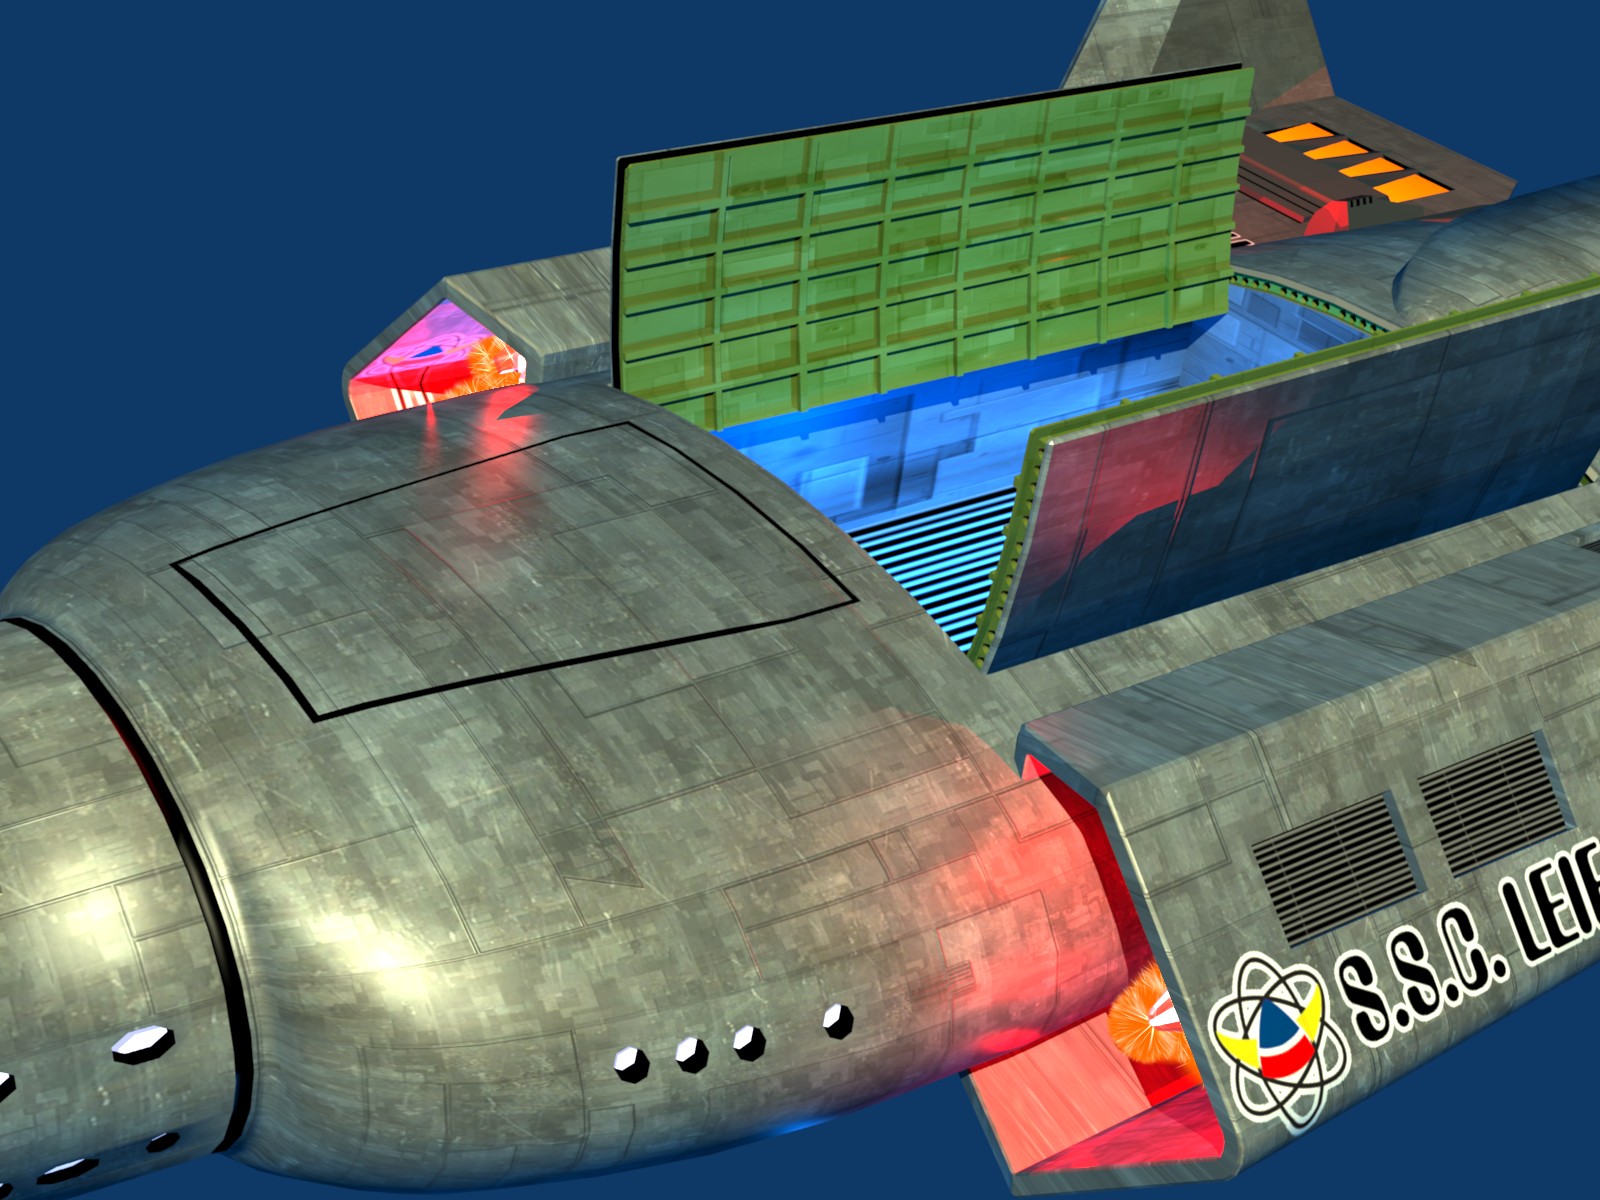
I just love discovering sneaky short-cuts. As all software, Blender has quite a few. These are techniques that allow one to make 80% of an impressive result but only with 20% of the effort. I just stumbled over Blender's infamous "instant professionalism" texture. This gives you a crisp image without lots of work setting up lighting. In these samples, the first of each pair is the old way and the second has Instant Professionalism added. In the first pair, notice how the logo on the engines pops out with Instant Professionalism. How do you do it? To the spacecraft's hull material, in the Material Buttons texture pane add a new texture. In the Texture Buttons (F6) texture pane set the texture type to BLEND. In the Material Buttons map input pane, set NOR, SPHERE, and for the coordinates set the first two rows to the blank coord, and the last row to Z. In the Material Buttons map to pane, unset the COL, set REF, and set the texture blending mode to ADD. If the results are too bright, turn down the map to Var parameter. Experiment with using EMIT insteat of REF, or try both together. |