


|
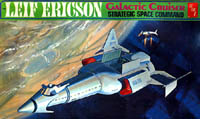
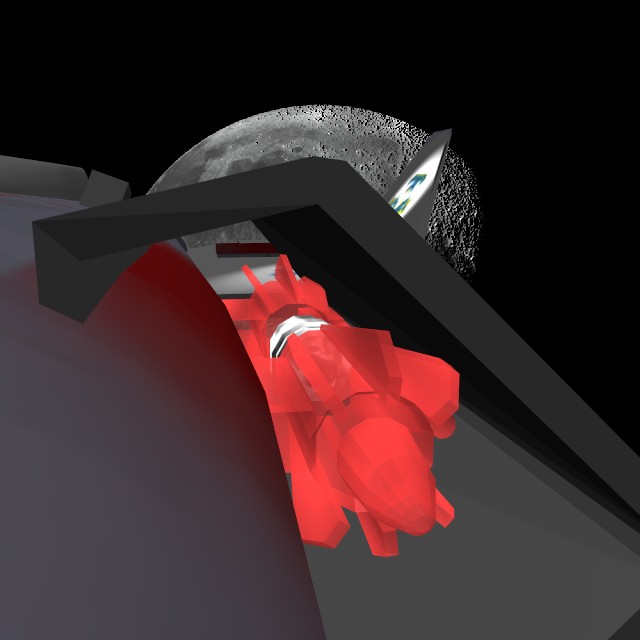
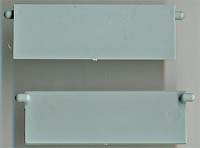
It's been slow and tedious as I alter the mesh to match Mr. Merrill's peerless blueprints. A roadblock appeared. Unfortunately the blueprints do not display the internal engines, since they are hidden by the cowl. However, Frank Henriquez's website has high-res scans of the model parts, and I have the surviving bits of my plastic model to use for reference. So I faked up some approximate blueprints myself, using Frank's scans, a flatbed scanner image of my model, and lots of work in Adobe Photoshop. I do not have the skill to make exact blueprints, but I can make ones good enough for government work. Especially since the engines are hidden by the cowl. The images here show the unpowered engines, the engines warming up, the engines under normal acceleration, and the engines under full emergency thrust. Using Blender's "Halo" material type, I added little pin-point stars at the vertexes of the engines. |
|
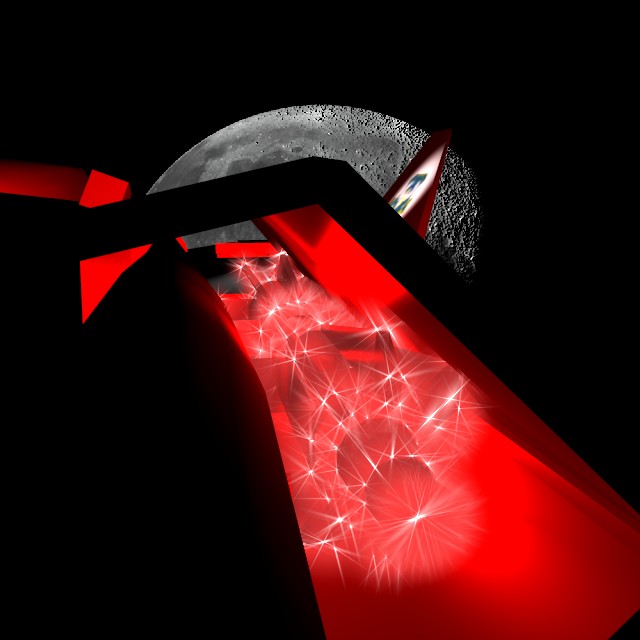
I had to re-do the nose cone from scratch. My original re-make had literally a thousand times more polygons than it needed, due to the shortcomings of Blender's Boolean tool. Trying to clean it up by hand just distorted the mesh. I took a fresh cone, and used the Boolean tool again to make a "diff" Boolean. But this time I removed all the vertices until I had just the intersection between the two shapes. This took the form of a arc. I then took a fresh cone, added the arc on all four sides, and manually stitched it into place. Halfway through I realized I was doing far too much work. I deleted everything except for a quarter slice the long way, and duplicated it three times to make the entire cone. As an afterthought I made the sensor dome a pseudo-chrome color, just like the plastic model. |
|
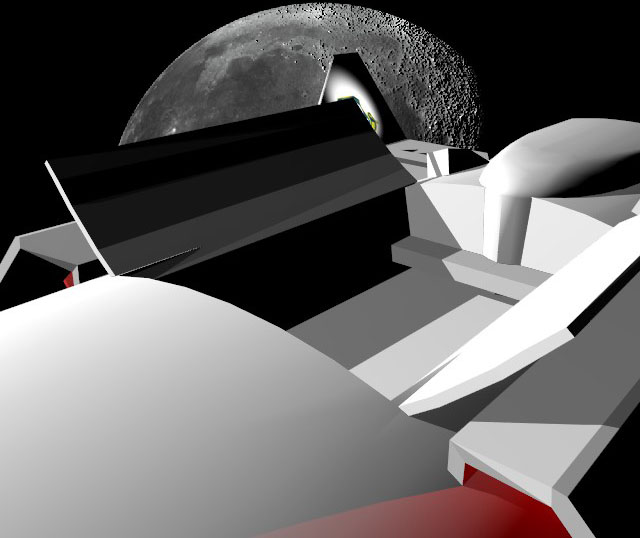
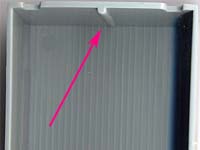
Time for the landing bay. With an image of the blue-print in the background, I added vertices on the back to define the outline of the bay. The bay was then extruded downward into the body of the ship. The vertices composing the bay bottom were then moved to the same Z coordinate to flatten the floor. I have to make measurements of the plastic model, as I am unsure how deep to make the bay. In the image, you can see on the aft hangar wall protrusions from the aft bulge, and a shelf that is actually the front of the wings. The bulge needs to be shortened to match the blueprints, and the shelf will be trimmed away. I then added two squares, and painstakingly molded them into the bay doors. After I finished, it occurred to me that somebody who was not stupid would have instead duplicated the top of the bay before extruding it downward to make the bay floor. Arrrgh. I made the "center" of each door in the middle along the port or starboard edges. This allows me to rotate the doors around the center in order to open the bay doors. In the image I opened them by 130º. A close look at the image will reveal that the top edge of the bay is penetrating the lower edge of the doors. Oops. |

|
Examining the plastic model, which I should have done in the first place, it was obvious that the axis of rotation was quite a bit inward from the edge, and quite a bit below the plane of the doors. The doors also will not open much past 90º. Making these changes fixed the bay penetration problem. There is now a gap between the edge of the bay and the door pivots, but that is in the model as well. It occurred to me that there wasn't anything supporting the bay doors in the center. A glance at the model showed that there actually are two pillars inset in the fore and aft walls of the bay, for support. This will be added in time. I may also add some holes on the leading and trailing edges of the doors, to accept locking bars such as one finds on the edge of bank-vault doors. |

|
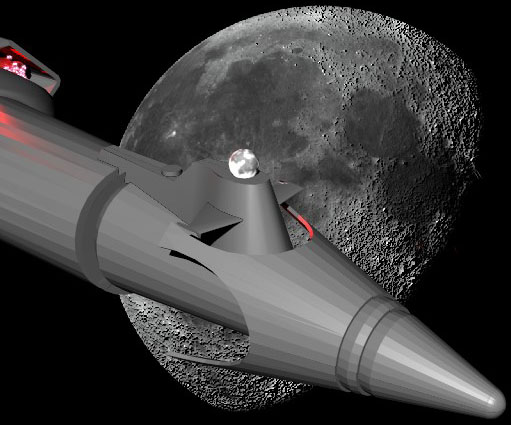
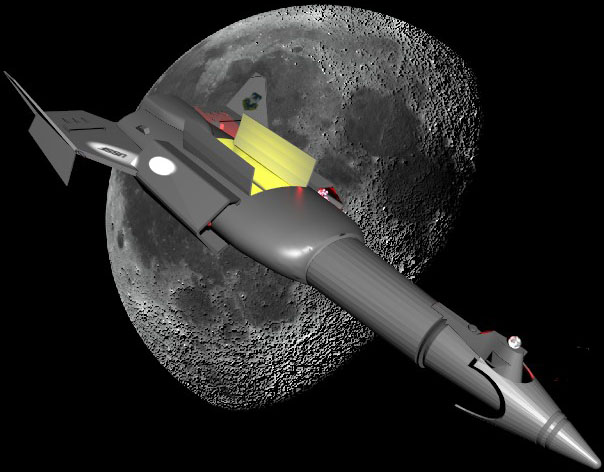
I moved the rear bulge and trimmed the wing. Here's how the bay looks with yellow area lighting. I'm not sure this is the color I will use for the final image. Yes, I know only the port engine is lit, I'm still playing with that. |
|
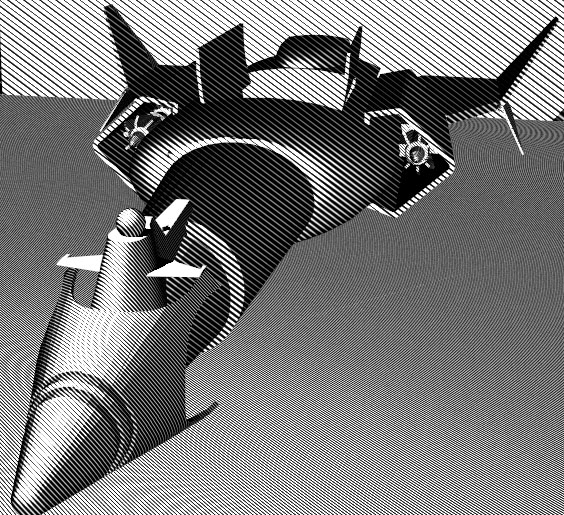
Here's the Leif Ericson as drawn by a woodcut artist. The render was done in Blender using the "Verne Illustration Shader". |


|
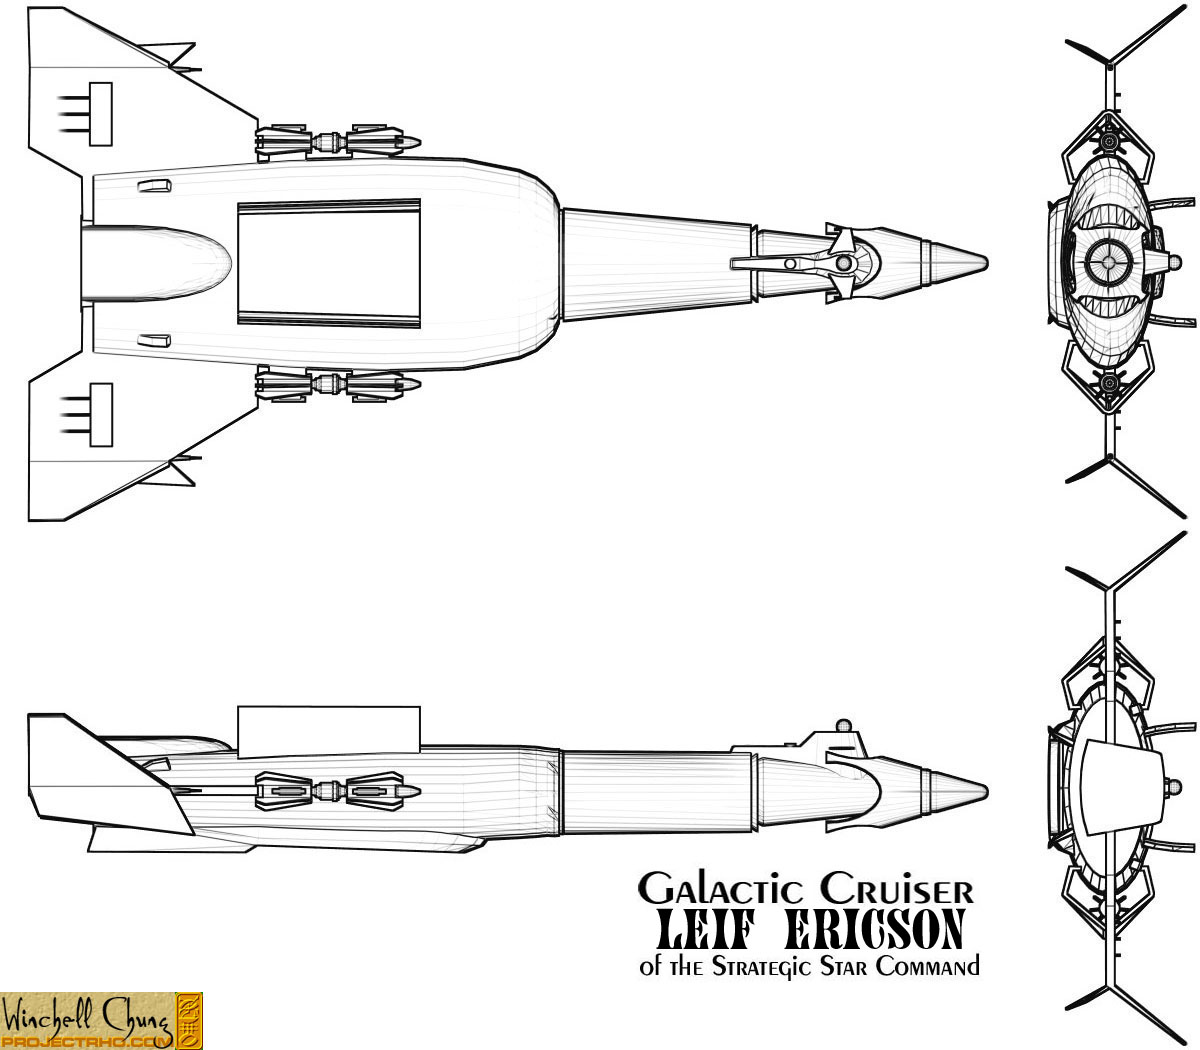
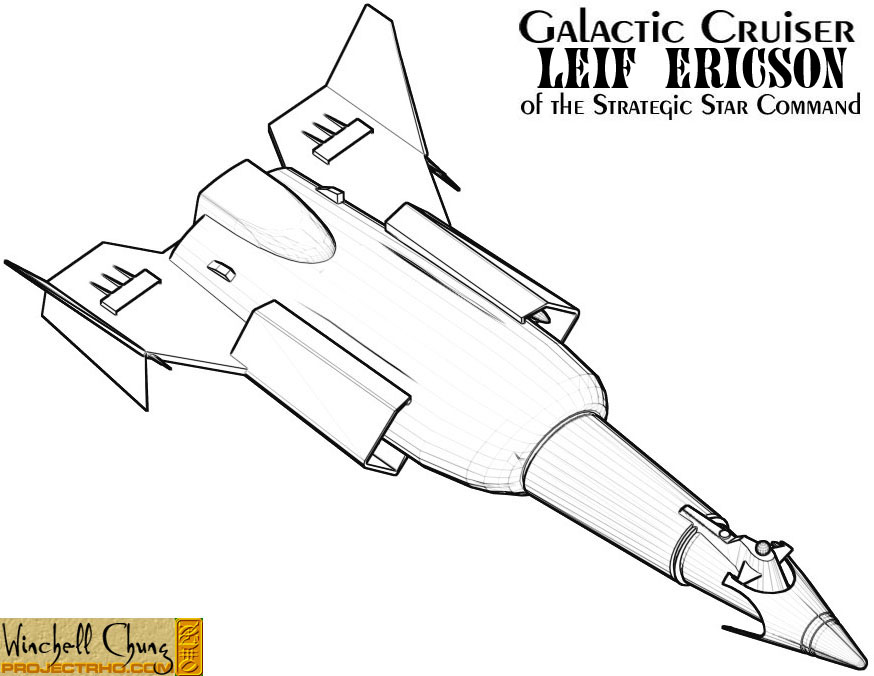
A simple setting, and Blender will draw blueprints. Now understand that these blueprints are kindergarten crayon drawings compaired to Mr. Merrill's esquisite hand-drawn blueprints. However, since I personally cannot draw blueprints at all, the Blender prints are much better than nothing. And also be aware that I have not finished altering the stern to match Mr. Merrill's blueprints, so don't worry if things seem a little off. |
|
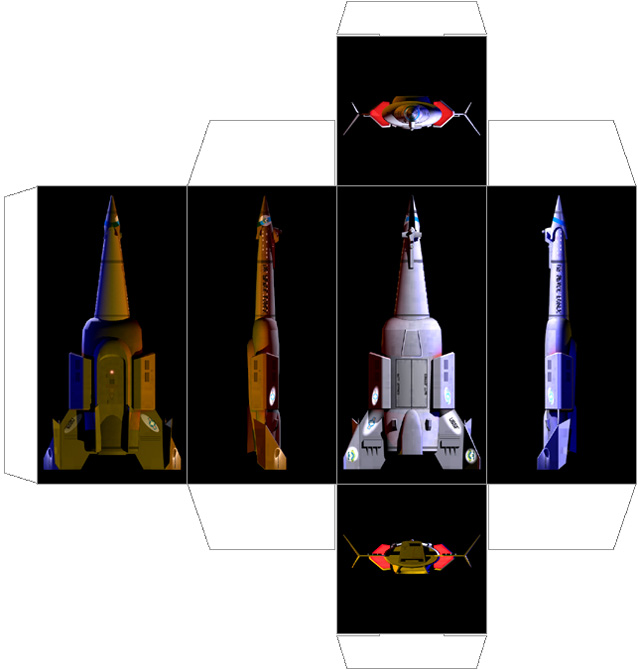
Todd Zircher shared with me his template for a "box miniature". Gamers and game designers who play with metal starship miniatures sometimes resort to box miniatures in an attempt to stay within a budget. A quick set of orthogonal renders, and the Leif Ericson miniature is ready to play. The file is meant to be printed at 150 DPI, so the box will be 1"x1"x2". Print it on cardstock, cut it out and glue it together. The ship is illuminated with a red light on the port side and a blue light on starboard, to help distinquish the sides. Remember: "port" is left since p-o-r-t has the same number of letters as l-e-f-t, and the port light is red since port wine is red. |